It’s a recipe that sounds intimidating, but trust me, making Honeycomb is so easy as long as you’re patient, careful, and prepared to clean up a little mess afterwards. Before we start, I’ll offer three pieces of advice; whatever you do, don’t be put off using a deep saucepan. When you first put the ingredients into the pan it may seem excessive, but this stuff buffs up unbelievably and quickly, so when it comes to the pan, the deeper the better. Secondly, a little cleanup advice. Honeycomb goes rock hard when it’s cold, and is impossible to simply scrap off. But don’t panic, to get it off I just had to put very hot water on it, and really carefully use a long-handled brush to scrub the honeycomb off.
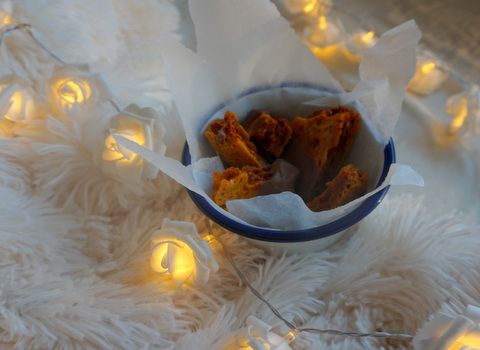
Thirdly, storage is key with honeycomb. As part of this recipe I mention putting the honeycomb in the fridge, however, this is just to cool the dipped chocolate. The honeycomb should not be kept permanently in the fridge, as it starts to revert back to a caramel-like state. And while delicious, it does make it really hard and messy to eat. Rather than doing this, keep the honeycomb out of the fridge in a cool place, and in a Tupperware container.
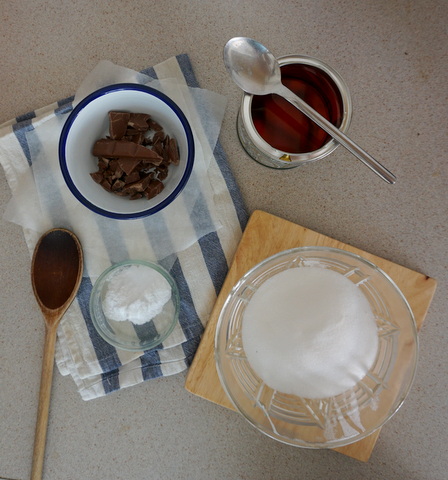
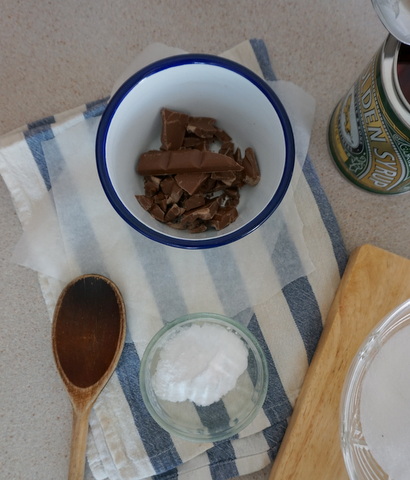
You will need…
200g caster sugar
5 tbsp golden syrup
2 tsp bicarbonate of soda
200g chocolate, for dipping
Method…
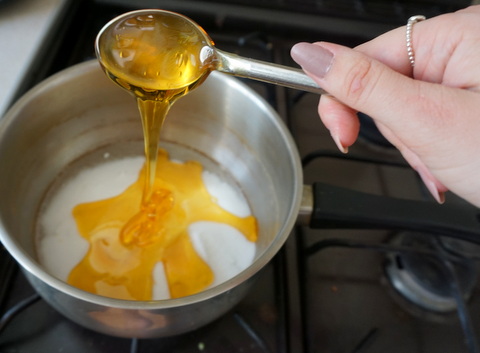
Before you start baking, line a baking tin with greaseproof paper. I used a tin that was about 20cm x 20cm. Put the caster sugar and golden syrup in a really deep saucepan. Heat on a really low heat and keep stirring until the sugar has completely melted. Don’t let the sugary mixture bubble until the sugar has completely melted. Once melted, turn up the heat to let the mixture simmer and bubble, and keep it like this until the mixture has changed to a caramel-like consistency.
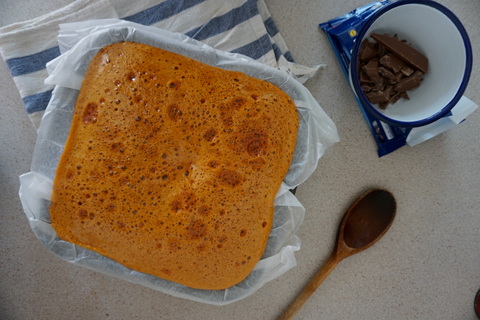
As quickly as possible, turn off the heat and then pour in the two teaspoons of bicarbonate of soda, mixing while you do so. The mixture will quickly soak up the powder and start to bubble up into a foam like mixture. Keep stirring, but be careful not to spill on the oven, or touch it – it’ll be really hot. Still being careful, pour the mixture into the lined baking tin, and leave to the side for around an hour, to and hour and a half. Don’t touch it in this time, but when you do it should be solid hard.
For the finishing touch – and if you’ve had your sugar fill already, this is completely optional – gently melt the chocolate in a bowl over a pan of boiling water. When melted, dip the honeycomb in the chocolate so that it’s half covered.
To serve…
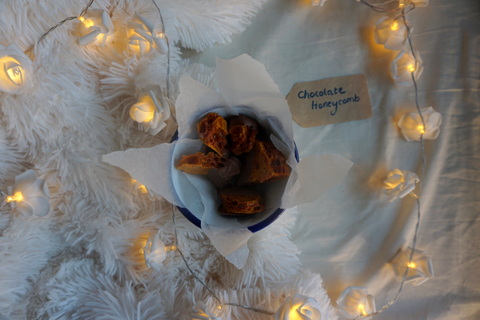
This honeycomb is super sweet, so you don’t need anything too much to go with it. I personally just like to enjoy my honeycomb on its own as a sweet snack or small dessert, but with all the extra crumbly bits you end up with after breaking it up, don’t throw these away! Instead, serve sprinkled on top of a scoop of vanilla ice-cream.
Delicious! xx