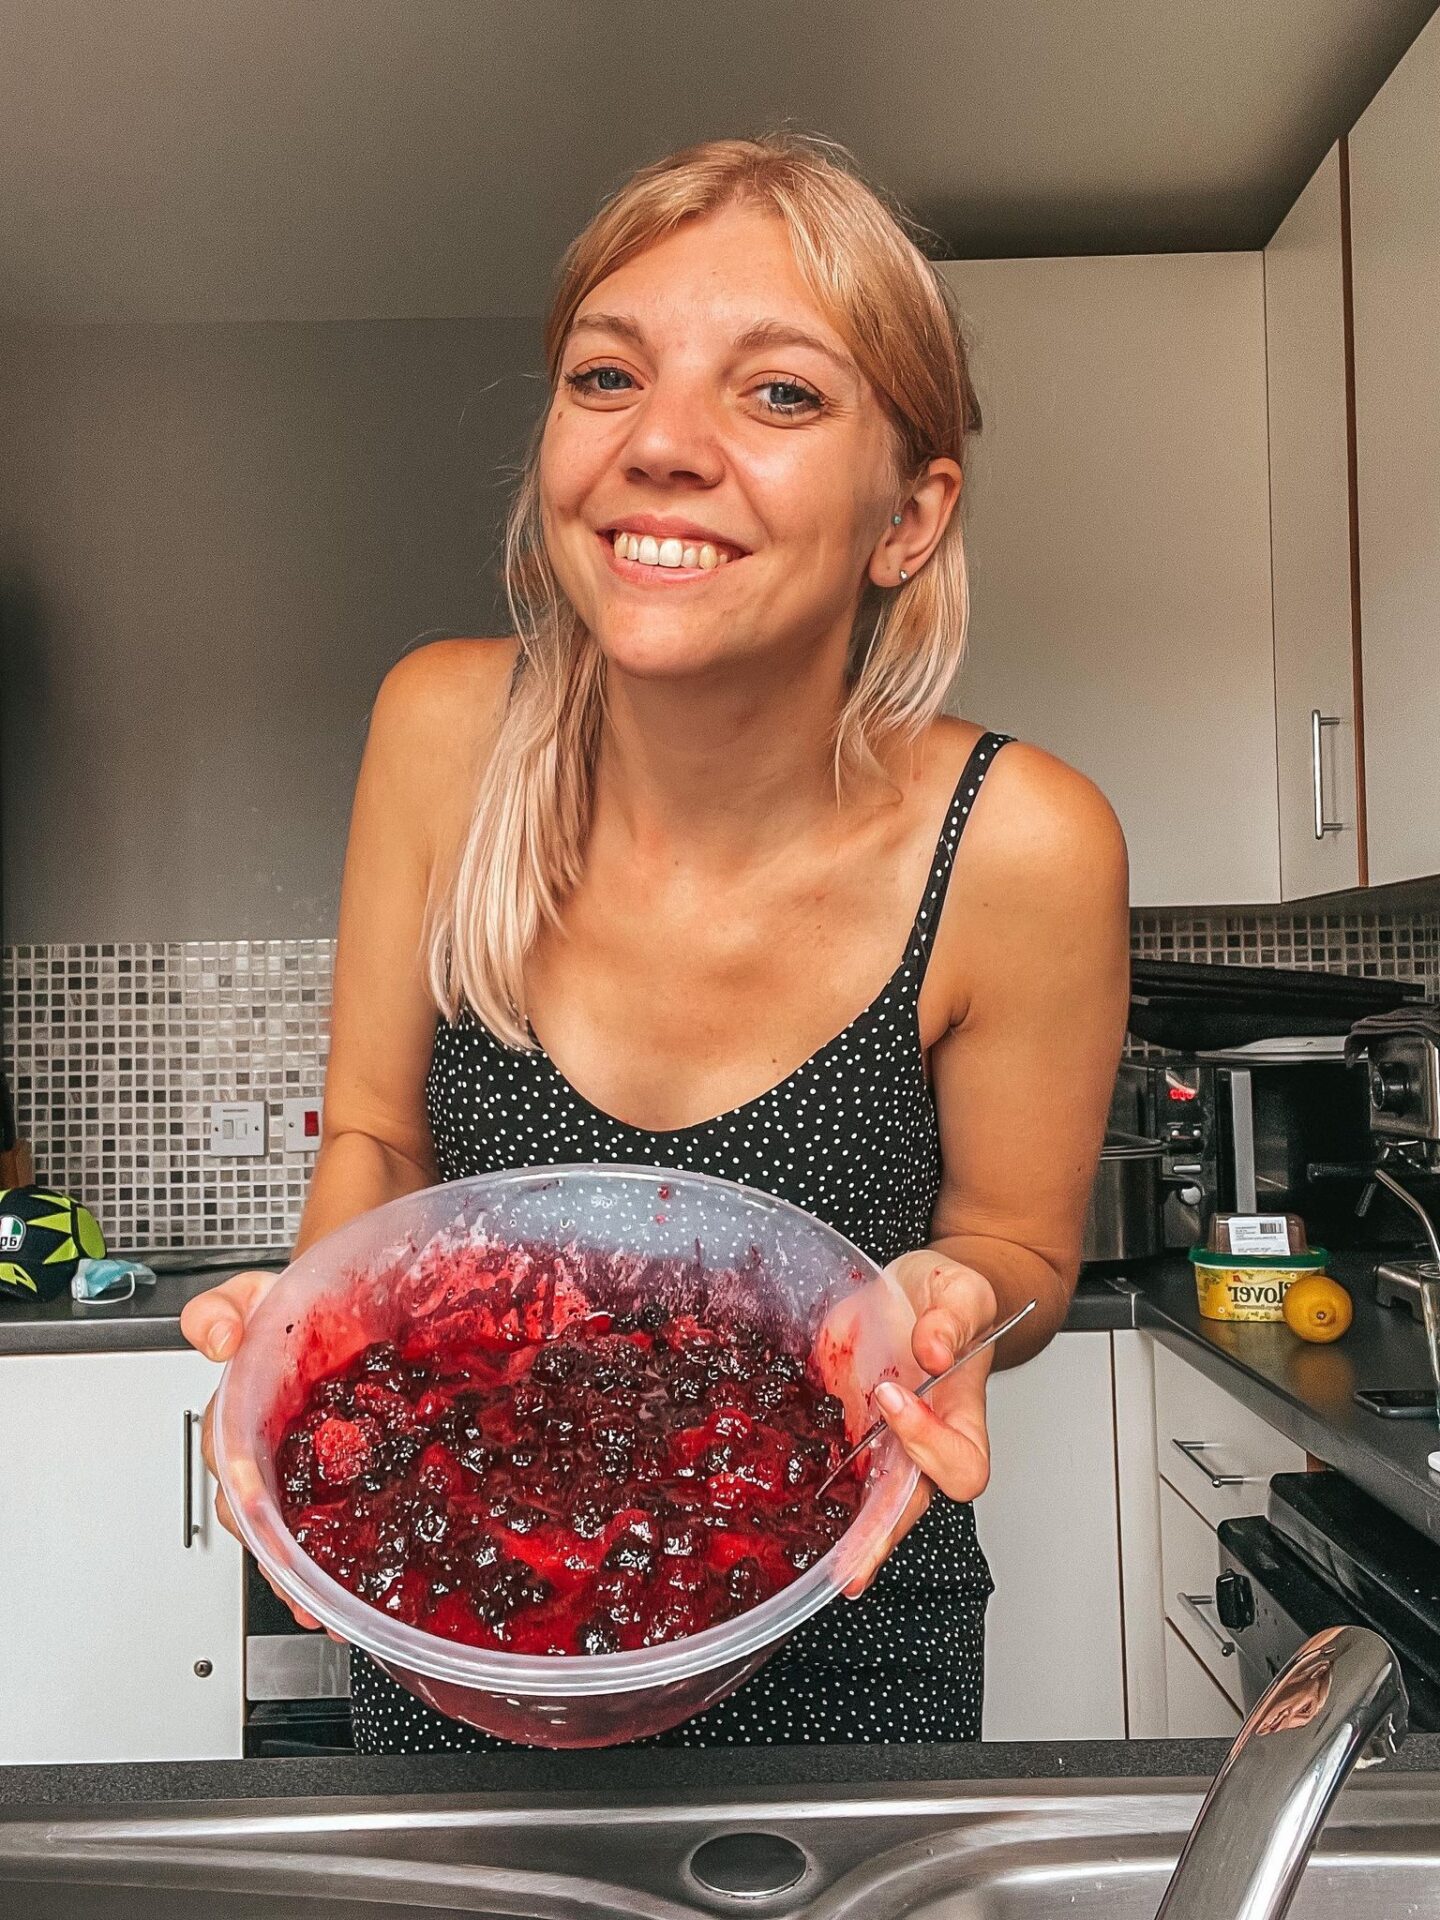
I love making jam, and it’s an incredibly easy way to make use of all those blackberries you can end up with from a day of picking, if you have a good jam recipe…
When I say this is an easy recipe I’m not lying. It’s so easy. There’s only three ingredients, it takes up to 10 minutes to make (plus an overnight prep wait), and you don’t really have to do anything while it’s cooking. You can start the prep-stages, then just monitor it while you do something else.
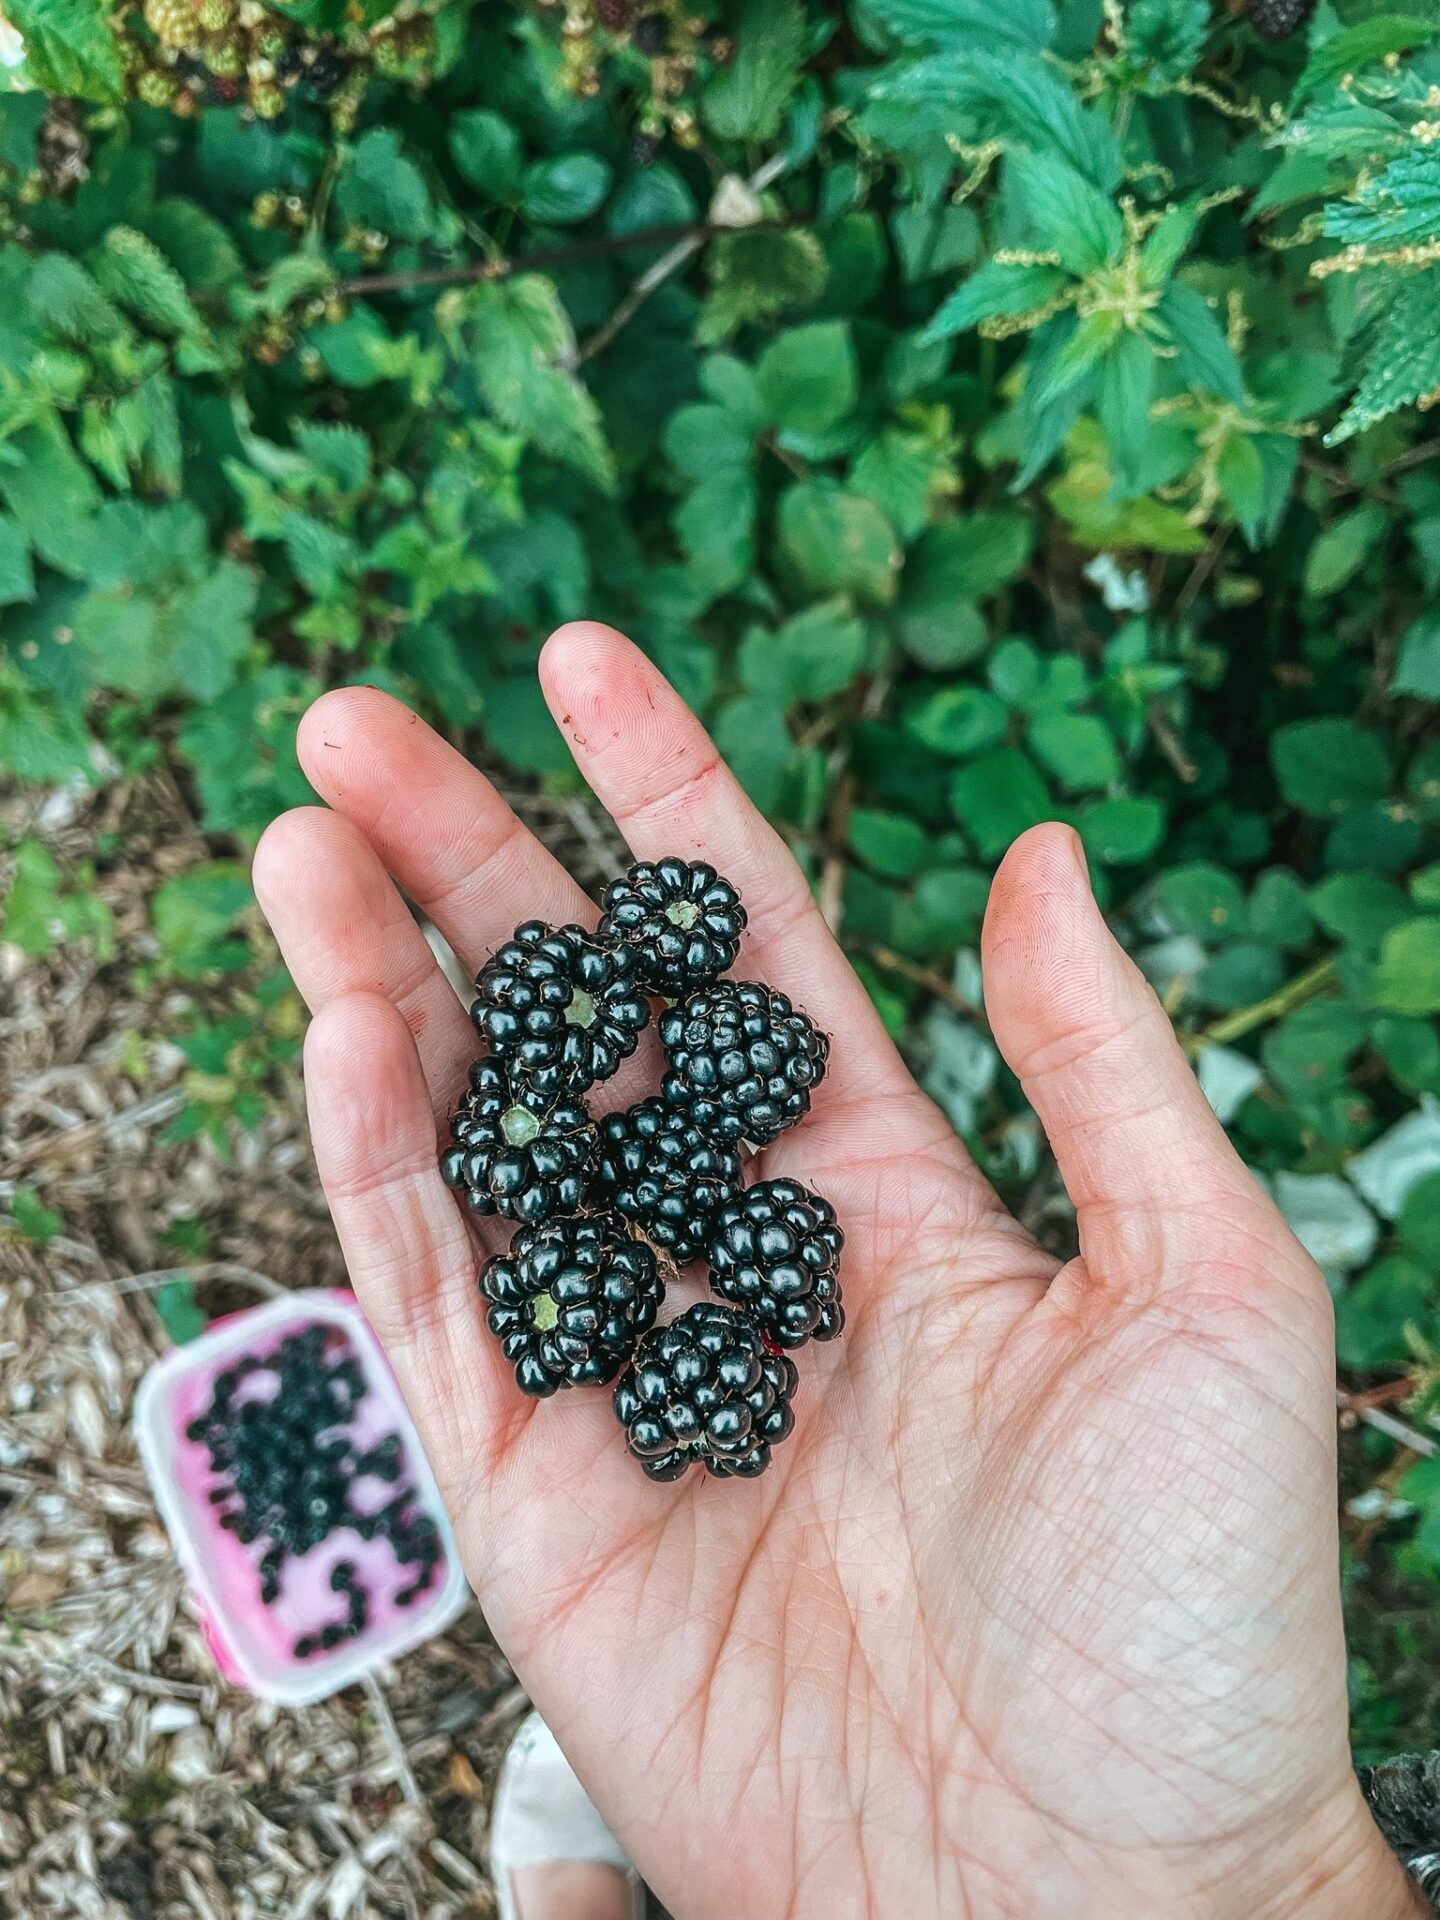
I do this every year with the blackberries I pick. Mainly because I like going blackberry picking, but then never know what to use them for, and jam works a treat. But you could use any soft fruit for this recipe really. Strawberries, raspberries, blueberries. It’s a recipe you could experiment with to see what works and what doesn’t. Let me know what fruit you try.
There will also be a reel on my Instagram page showing how I make the jam, so check that out before you get started too.
Ingredients:
1.8kg blackberries
1 1/2 kg jam sugar with pectin
1 lemon
Knob of butter
YOU MIGHT ALSO LIKE: A Scrumptious Coffee Cake Recipe
Prepping for Cooking
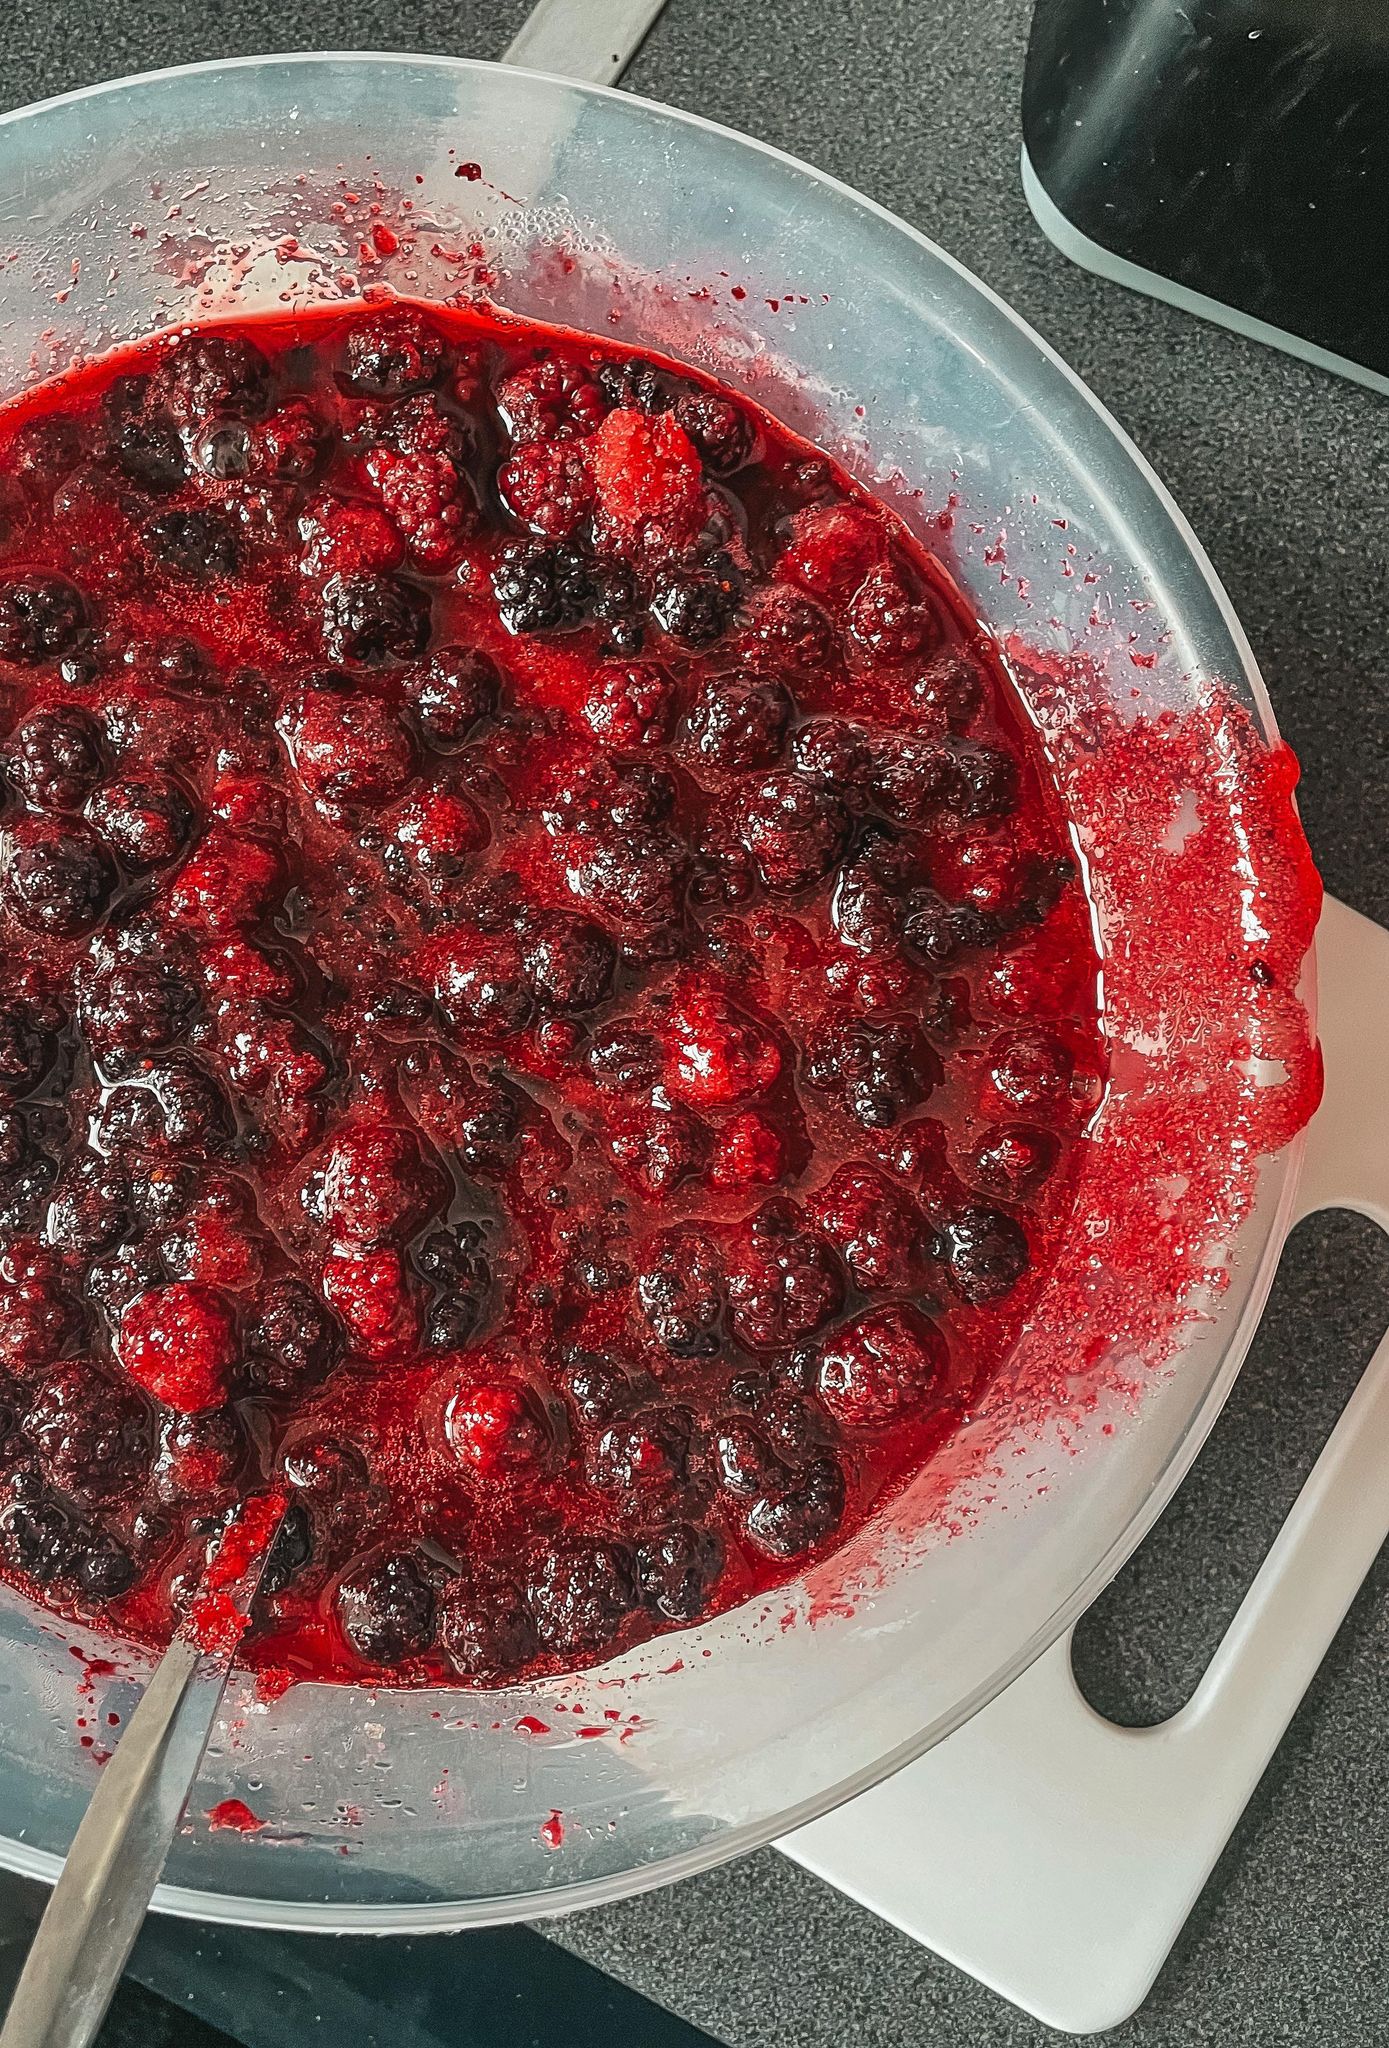
You need to start prepping the night before you plan on making the jam, so make sure you’ve got a few hours empty the next day. The night before, put the blackberries in a large bowl, then add all the sugar on top. Doing this the night before start everything merging together, and will set you up better for the cooking part, so it’s important to remember to do this. It also means it’ll be less likely to overcook, one of the only risks with jam making this way. At this stage, just cover the bowl, and leave somewhere safe at room temperature. I usually go for somewhere like above the fridge, where it won’t get tipped over.
The next day, get the bowl out in the morning and give the sugar and fruit a stir. It doesn’t matter that you’re not making the jam straight away, but this again just helps more with the sugar dissolving. If you’re not making the jam yet, recover the bowl and put back at room temperature until you’re ready to cook.
When you’re ready to make the jam, first pop a small plate in the freezer. Sounds strange to start a recipe with, but this is how you’ll check to see when the jam is ready to be taken off the heat later. It won’t take long for the plate to be cold enough, so you can do this right before you start.
Making the Jam
Once you’ve done this, it’s time to start making the jam. Take the largest saucepan you own and tip the fruit and sugar mixture into it, making sure to get all the fruit, sugar, and juice in. I’ve popped a link to some big saucepans in my Shop this Post feature. If you’re planning on making a lot of jam, it’s definitely something that’s worth investing in. I have a two-handled one, and it makes moving the mixture around a lot easier, and means there’s no risk of the mixture boiling over. If that happens, I promise from experience, your cooker top will be ruined.
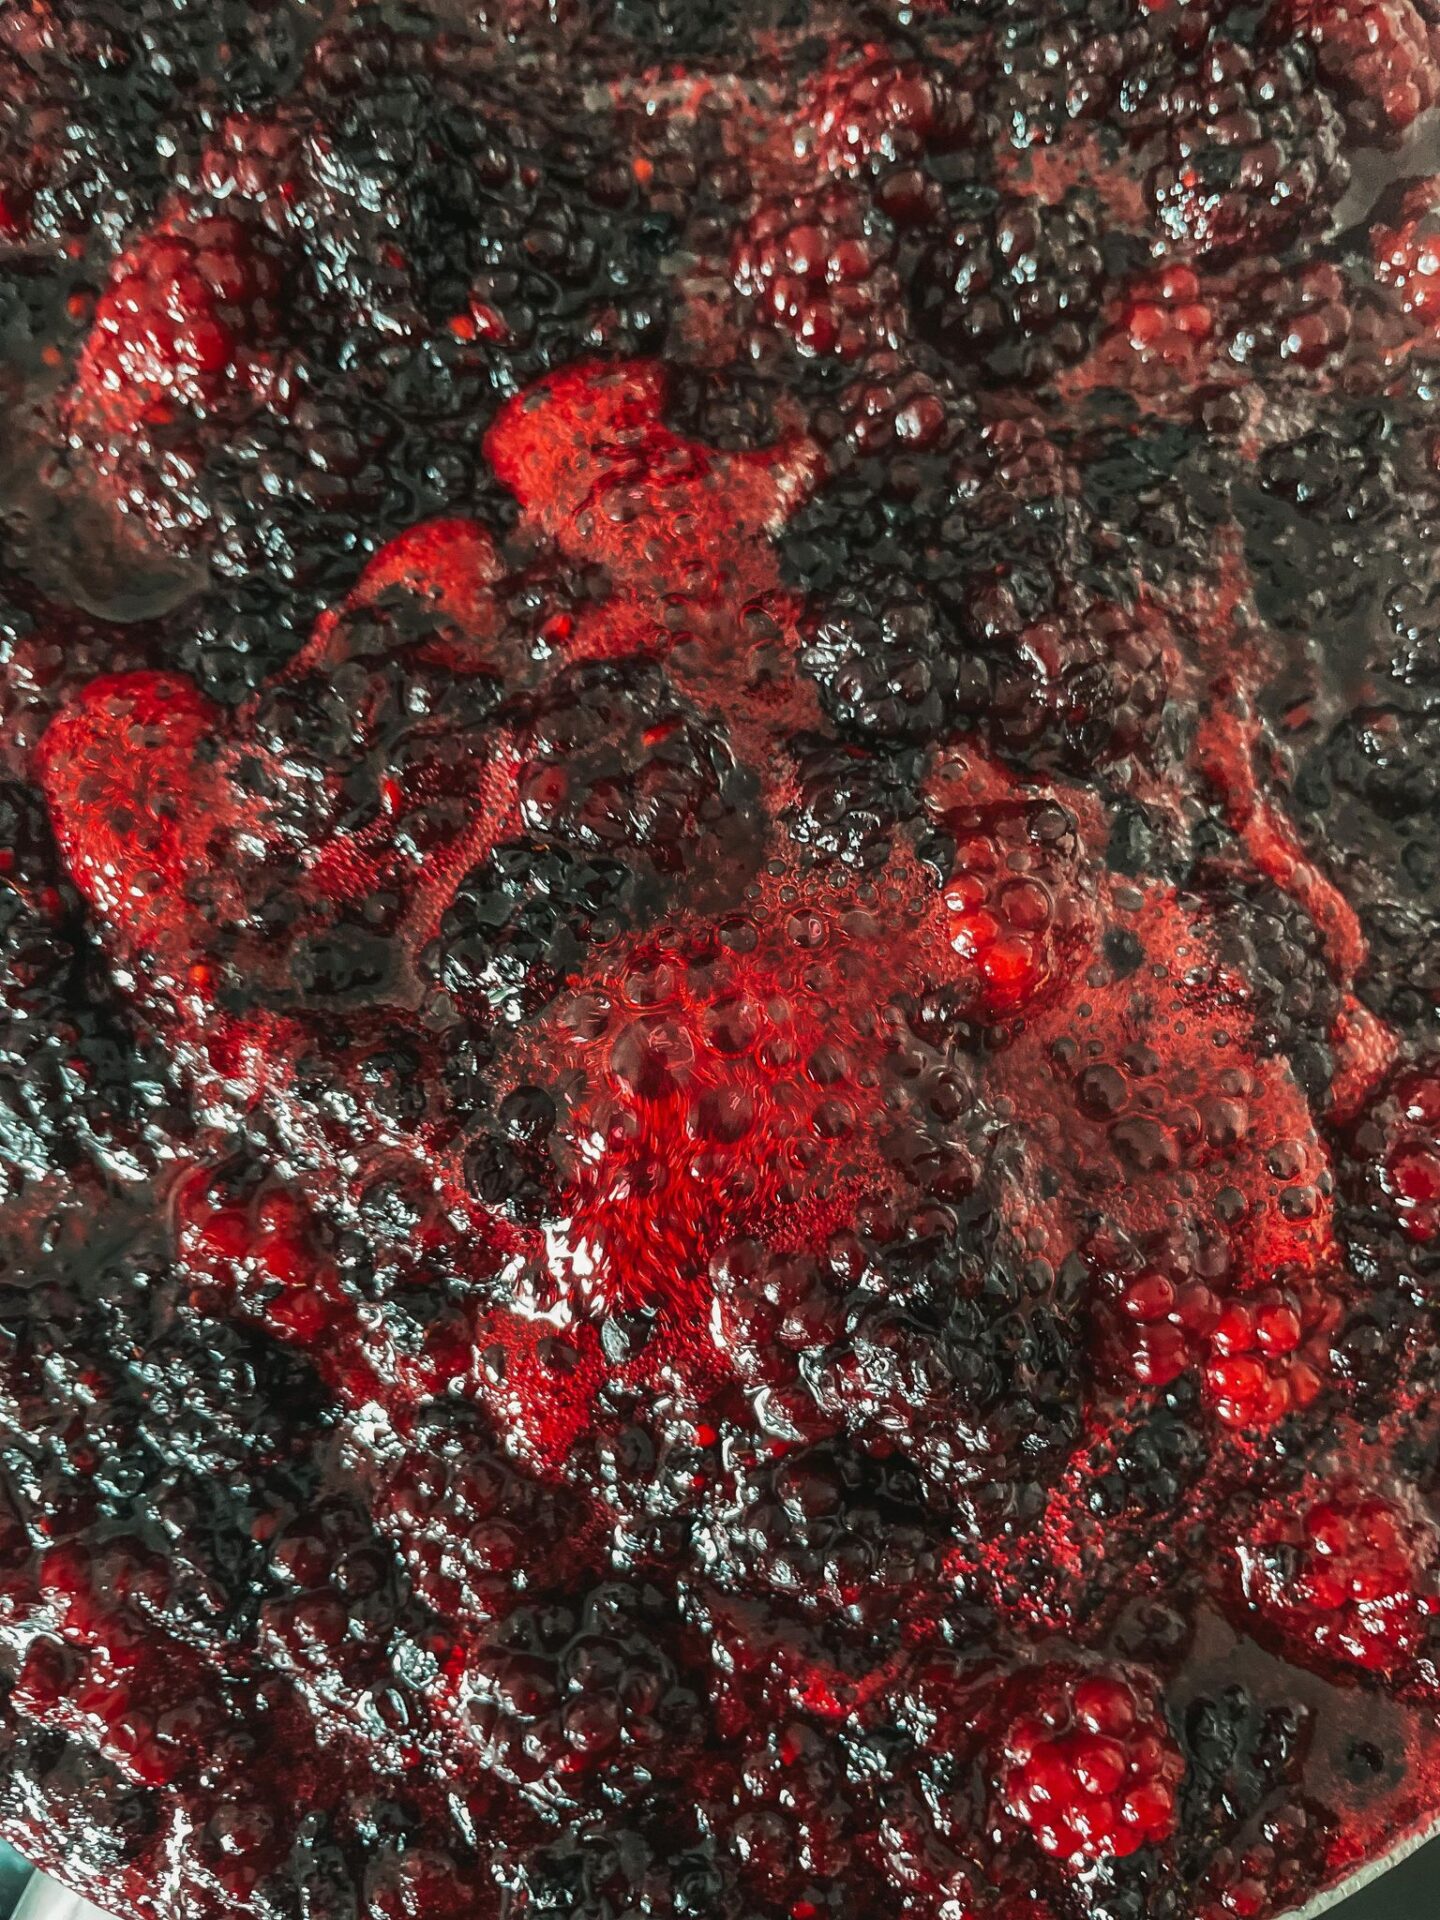
Squeeze the lemon into the mixture, using your hands to catch the pips. Stir the lemon juice in with the mixture, and start to heat on a low temperature to begin with. Keep stirring the mixture until all the sugar has dissolved. You’ll know when this has happened because it’ll look and feel less gritty. When you notice this, bring the mixture to the boil, and let it be for five minutes. Make sure it doesn’t boil over or stick to the pan and burn.
After the five minutes, remove the pan from the heat. Grab your plate from the freezer, and put a small dollop of the jam mixture on it. Let it cool for a few seconds, the gently push it with your finger. If the mixture wrinkles – you’ll see what it is when it happens – it means it’s cooked enough. If it doesn’t, and just moves around the plate like a liquid still, then put back onto the heat and keep going for another two to three minutes. Continue this process, with the plate testing until it looks ready. Always remove the pan from the hot hob each time you’re testing it to make sure it doesn’t continue cooking.
Jarring Up the Jam
Once it looks ready, skin off the top that looks foamy, and stir a knob of butter into the mixture. Put the jam aside in the pan for at least fifteen minutes so that it’s cooled. When it’s cool enough, share it out into the jars using a spoon or ladle. Wipe any spillages, then add labels with the name and date on, so you can tell when it’s going out of date. Move to the fridge to store.

Oh wow…. It is soooooo awesome that you can make your own jam. I should try it too. Thank you for sharing.