It’s not quite finished, but we’ve been working on a budget DIY project in our utility room this year…
We’ve been in our home for about two years now. With a wedding and a baby coming in those two years, the redecorating has taken a back seat. Luckily, the people we bought the house from had made it lovely ay. So we’ve been happy just putting our own footprint on it with furniture and decor.
We’d also never really attempted any sort of major DIY projects before. We’d painted the kitchen in our last house, but that wasn’t a big project. It was mainly tiles, and we just painted one plain wall before we moved. So when it came to thinking about this house we wanted to give it a real attempt, not a rushed job. So, we settled on the utility room.
The utility room is at the back of our garage, and a room that no one needs to go in unless we take them in there. So we knew if we messed it up, it would only be us who knew about it. It also had enough in it that we could put a real personal touch on it beyond just painting the walls. It’s a tiny room as well, so there wasn’t a lot of work to do if I got halfway through and got fed up with it, or decided DIY wasn’t for me. Luckily, I quite enjoyed it.
YOU MIGHT ALSO LIKE: Blackberry Jam, An Easy Recipe
Painting the Walls
First it was the boring bit, painting the walls. The whole house was painted a blush sort of colour before we moved in, which I actually love. It’s much better than painting every room white. But in the utility room it just didn’t seem to fit. There’s no natural light other than what comes through is conservatory doorway, and the only lighting was one wall light. So it was a room that needed to be as bright as possible.
So I did paint the walls in this r, room all white. First of all I went for something along the lines of a ‘Polar White’, but it was too cold for me, so I changed to ‘Ottawa’ from B&Q. (The same colour we went for on the main walls in the nursery in the end.) I kept it simple and just painted every wall, nothing fancy. My plan was for the walls to just be walls, then to accessorise and jazz up a bit on the other areas. The walls were hard to paint, as they’re the same brickwork without any cover, but I didn’t want to mess with this at the moment. Partly because we were working on the budget, and partly because I like the look of it.
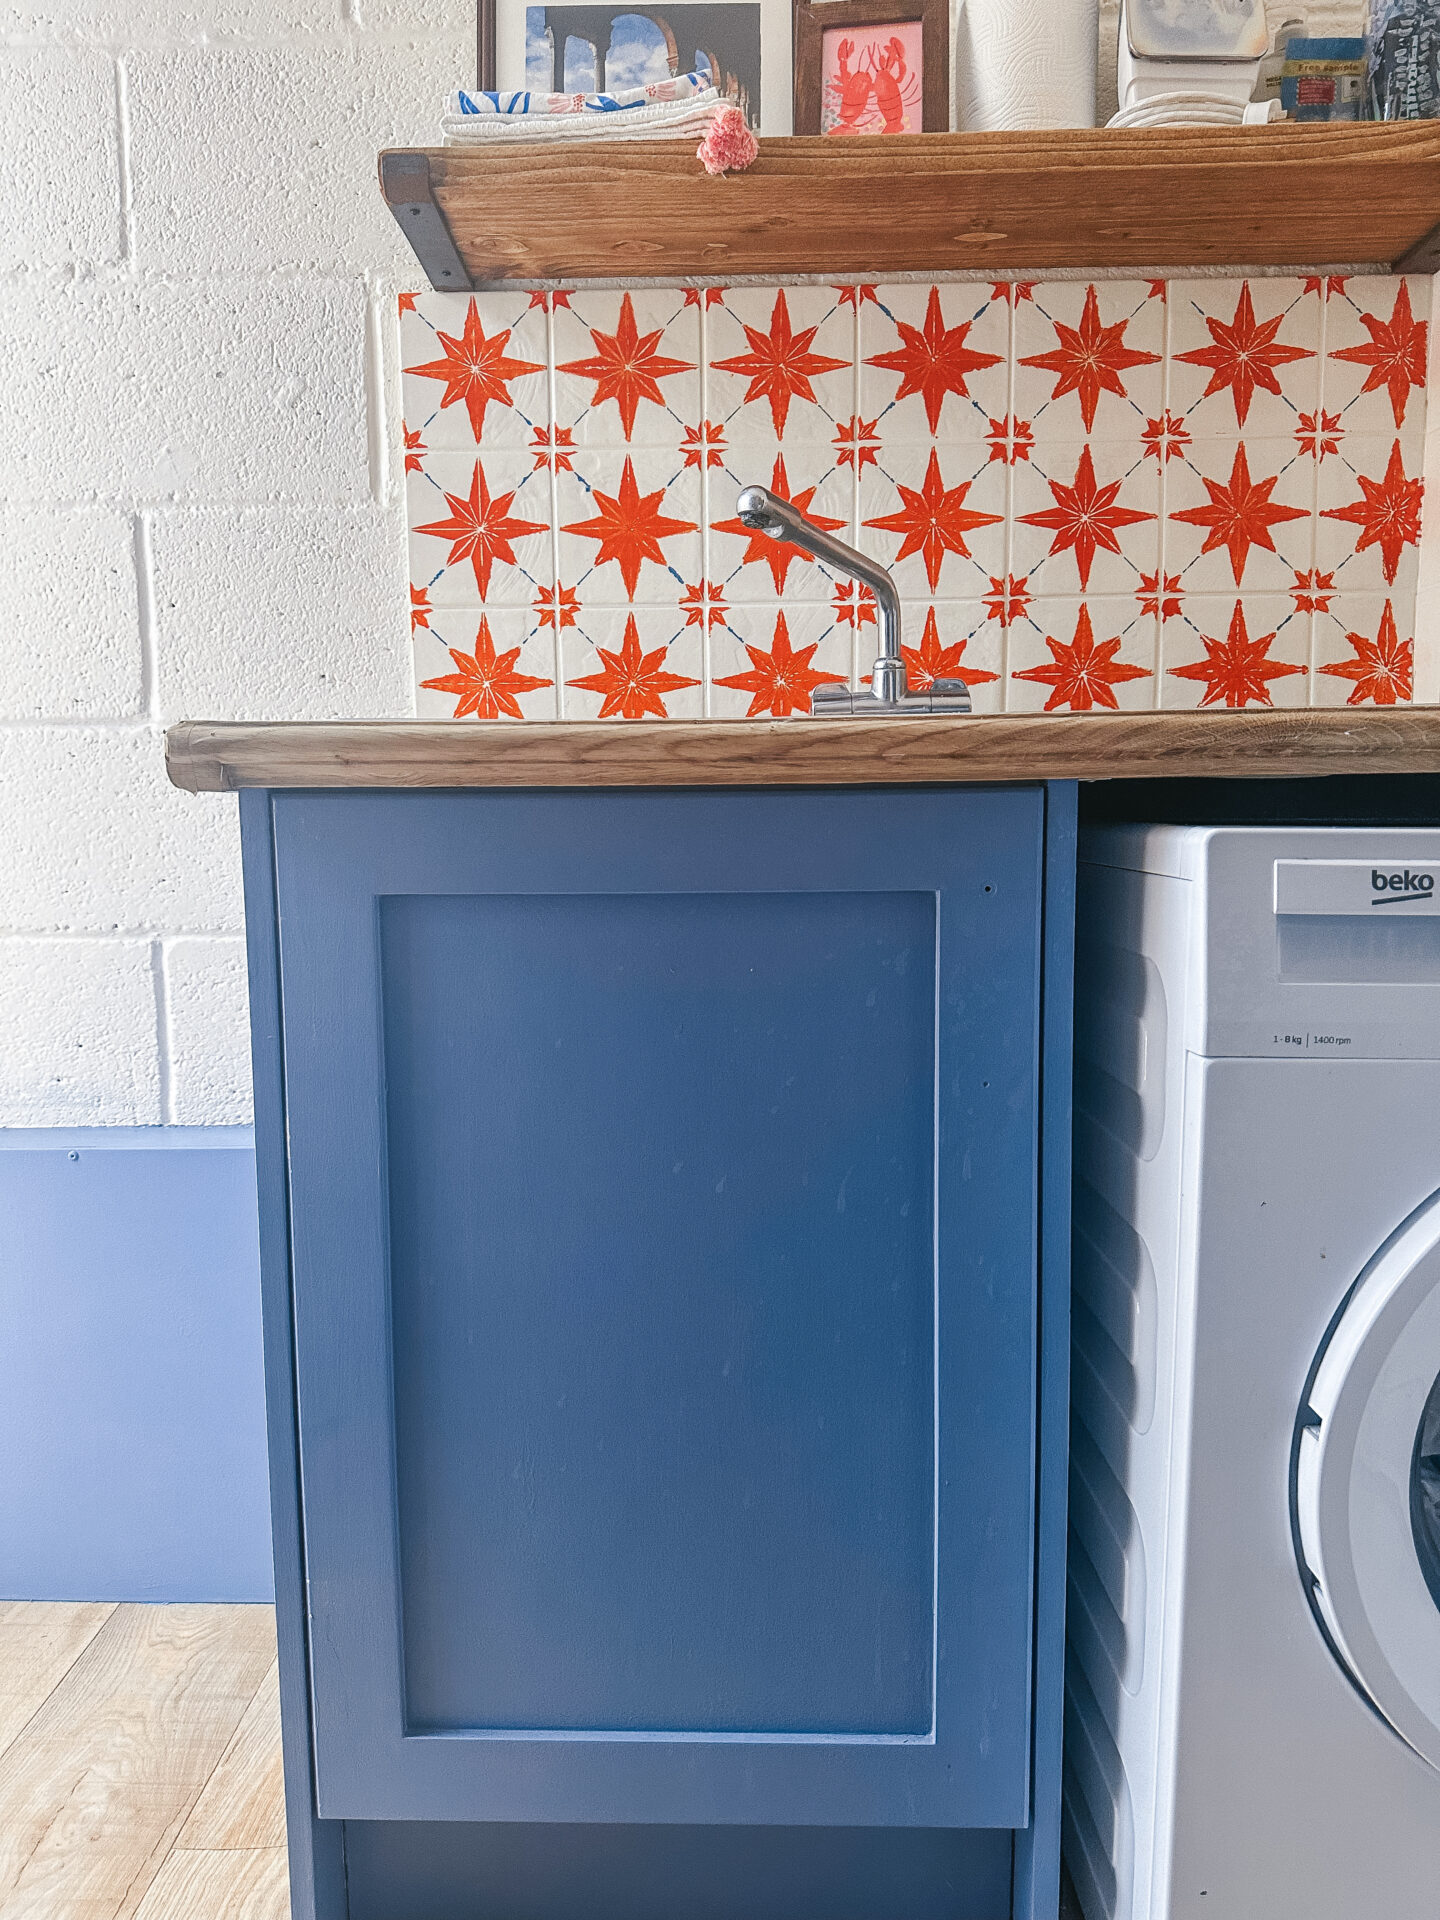
Painting the Cupboards
Again, I used a roller for this, and painted the cupboards a soft blue. I found it easier to take the doors completely off to paint them. That way you can get in the edges and nooks and crannies. You’ll also want to give them a gentle sand before you paint them. I used a Mouse sander, but honestly only do it lightly, you don’t need to take the original paint completely off – it’s mainly just to rough them up before you paint.
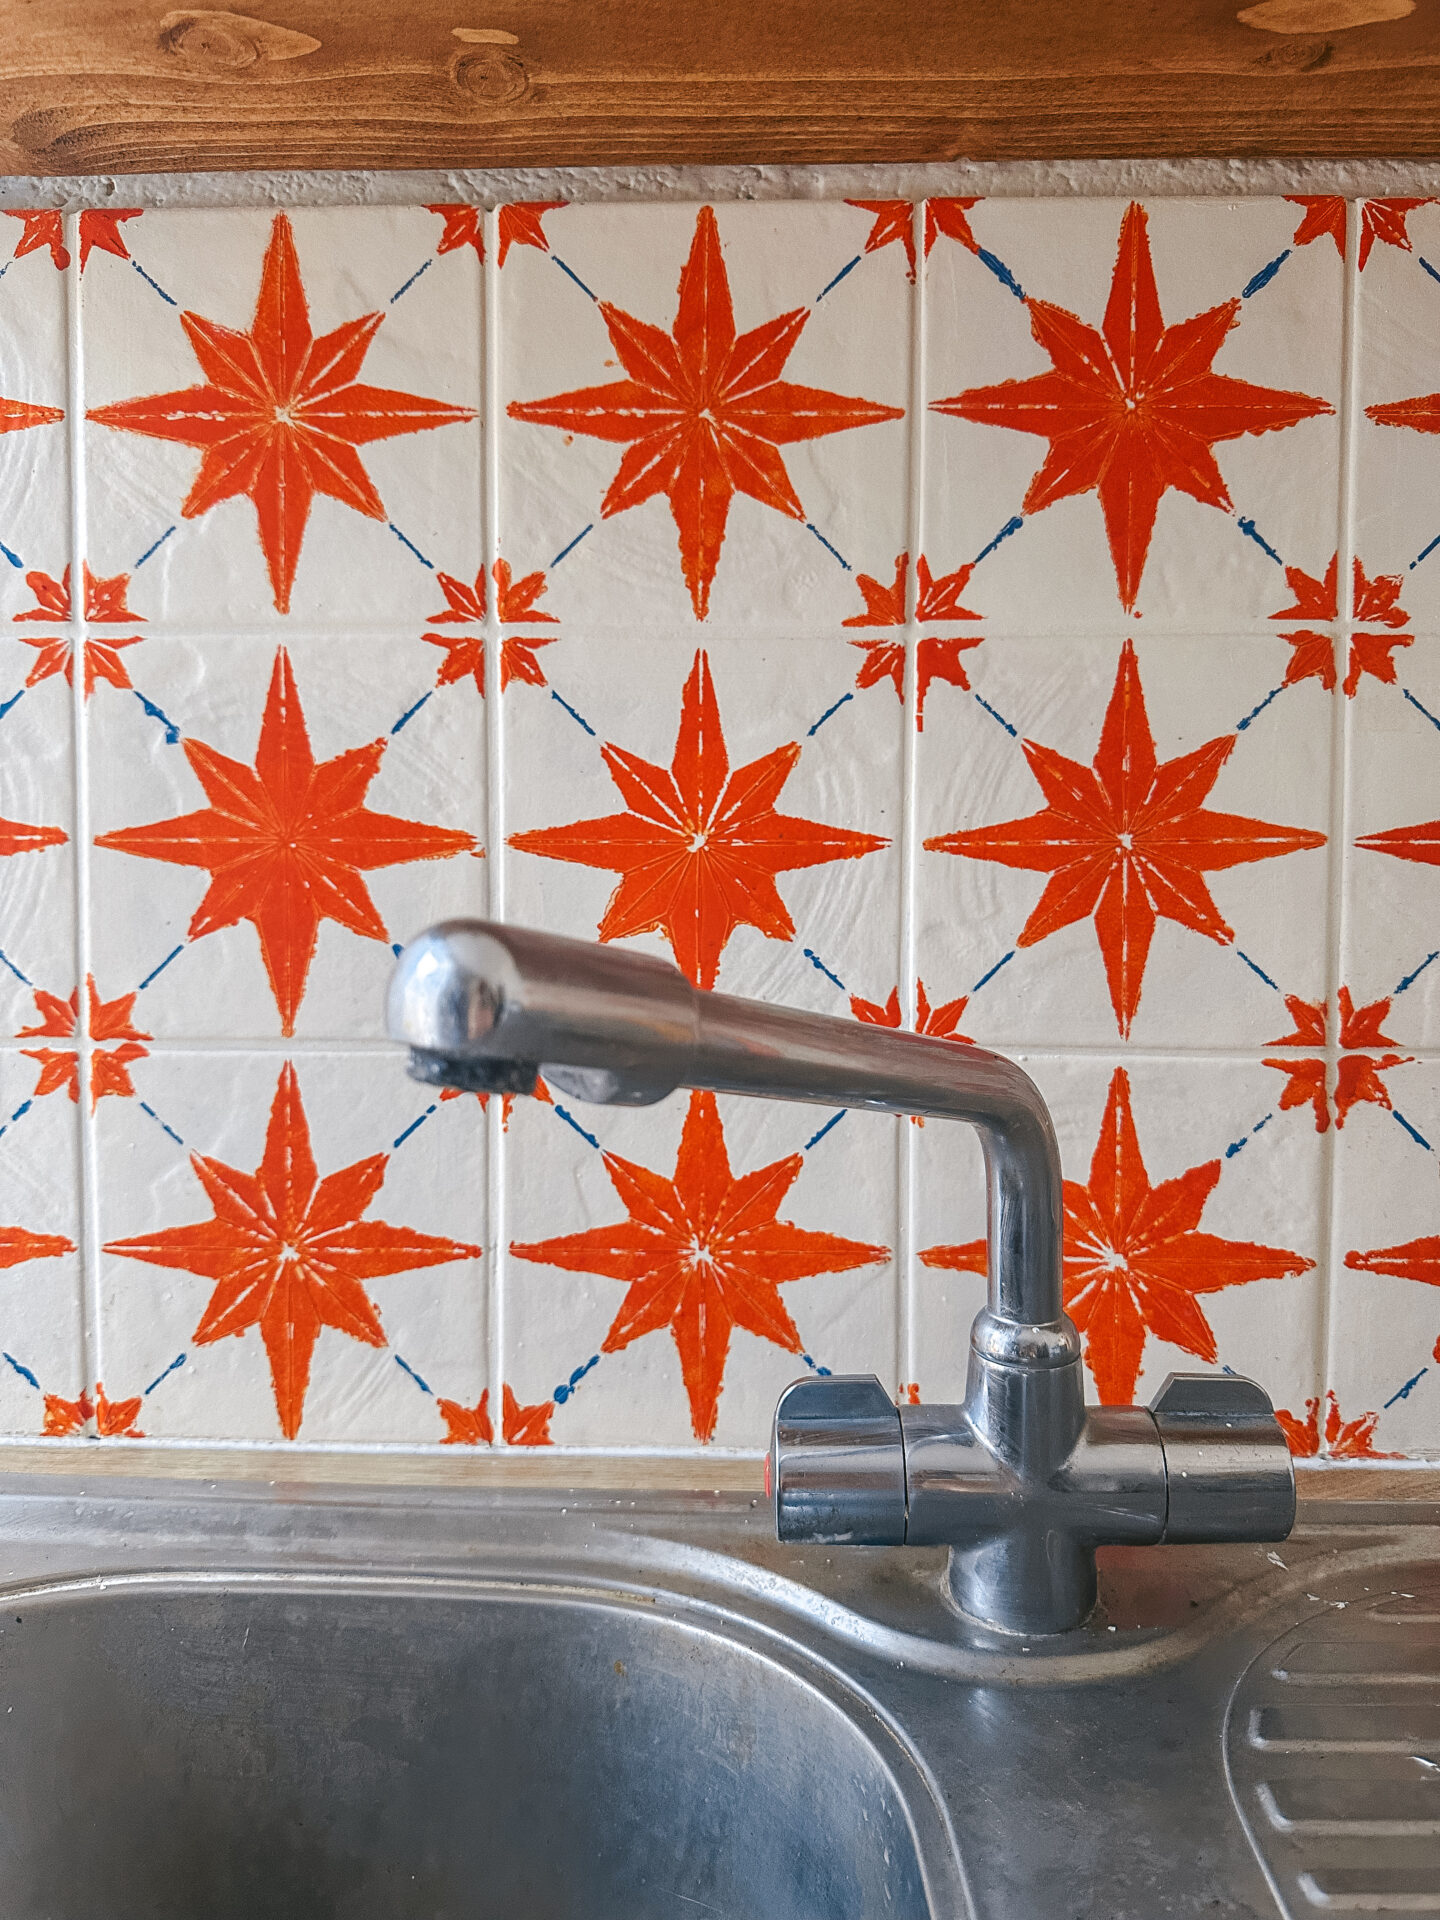
Painting the Tiles
I wanted interesting tiles. I love unique tiles, and after spending quite a lot of time in Spain we love the tiles you see out there. I wasn’t particularly going for a Spanish look in the utility room, but wanted to bring in the idea of jazzy tiles. But, without having to buy new tiles and physically retile the walls myself.
We went for stencils, and I’d recommend this if you’re looking for something similar. It’s really easy to do, but I would suggest doing a practise tile first to get an idea of how much paint you need to put on each time.
I got these tile stencils from Dizzy Duck Designs. Buy a few so that you can have a few tiles going at the same time, and when you get to the smaller more fiddly tiles you might want to fold or cut them up to make it easier. I used the blue DIY tape to hold each stencil down firmly, then just lightly dabbed the paint over it with a sponge. I then waited for it to dry before carefully taking the stencil off and moving onto the next one.
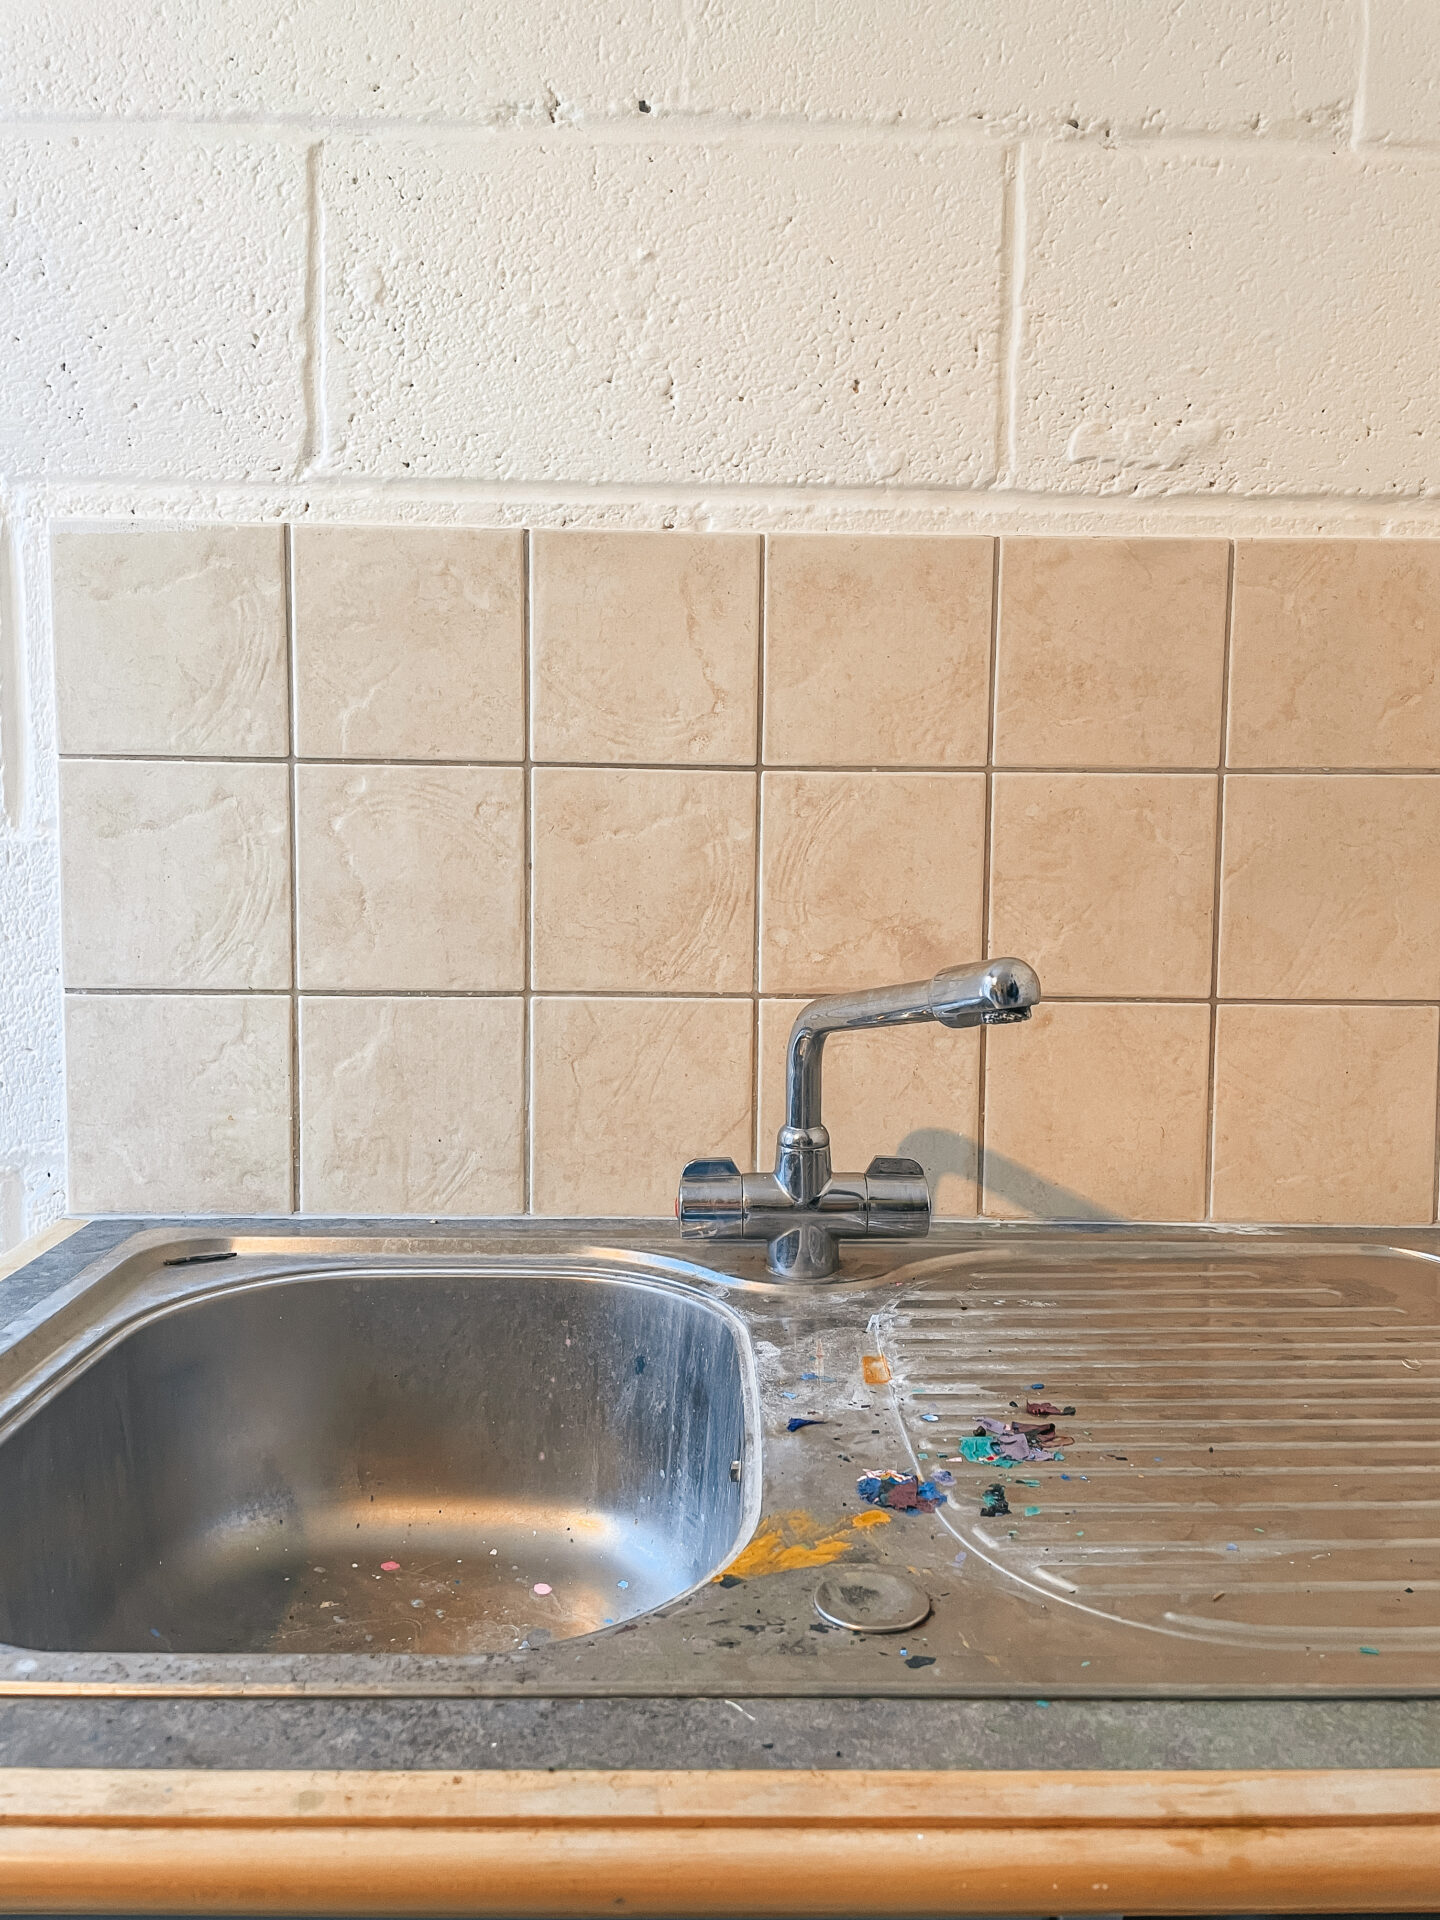
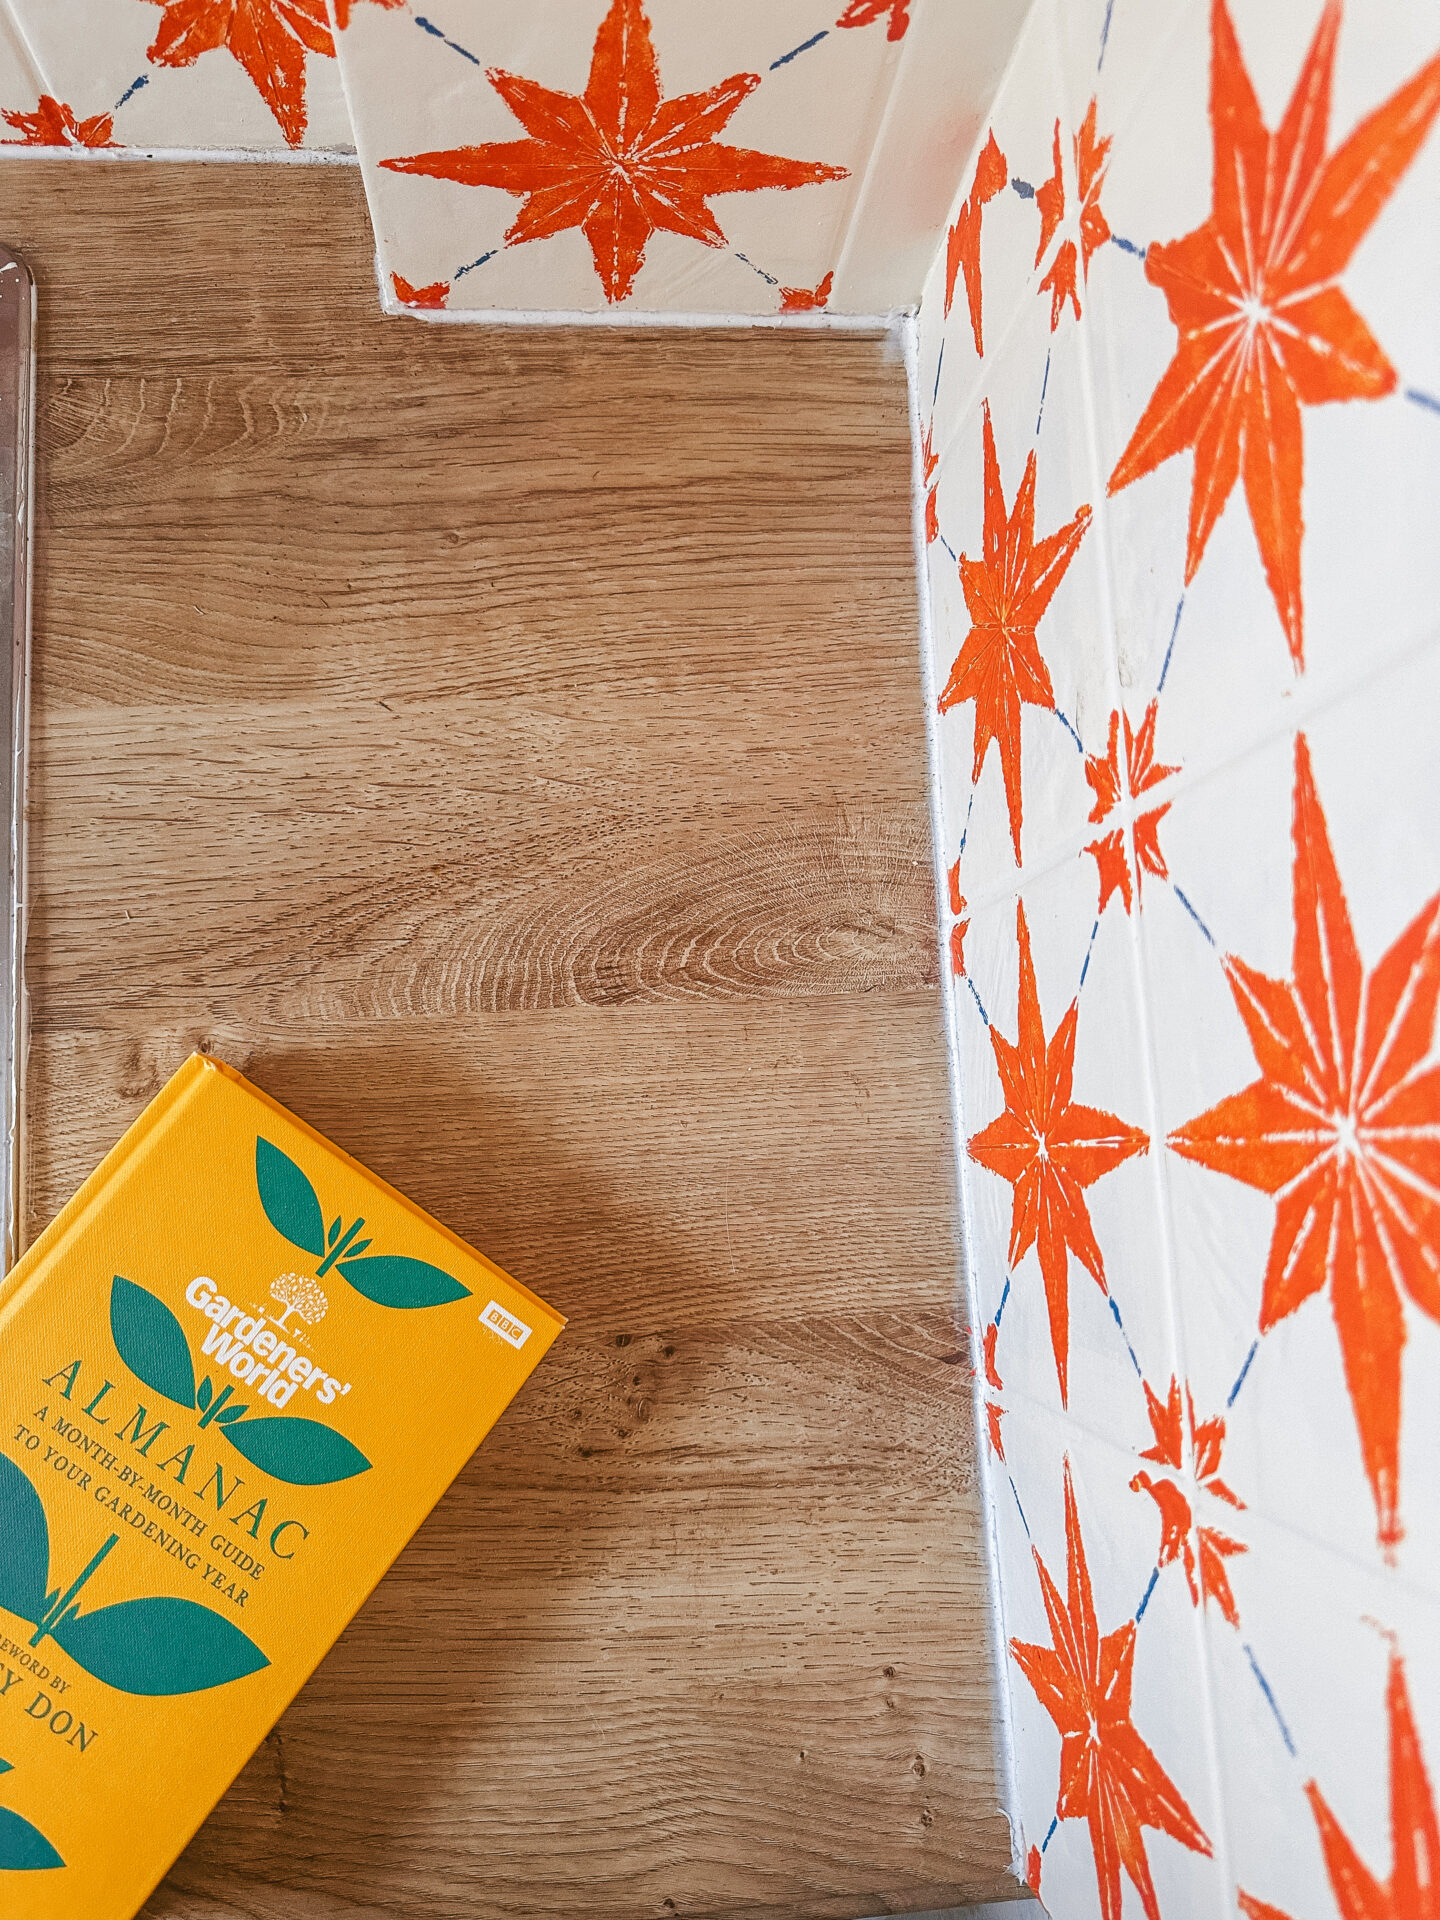
Recovering the Worktops
One thing did hate was our worktops. They were a green-marble type look, I think the previous homeowners mentioned they had from a leftover project they’d been doing at his workplace. They just weren’t for me. Again, buying brand new worktops and either fitting them myself or paying someone to fit them just wasn’t an option for us. So I looked into other options.
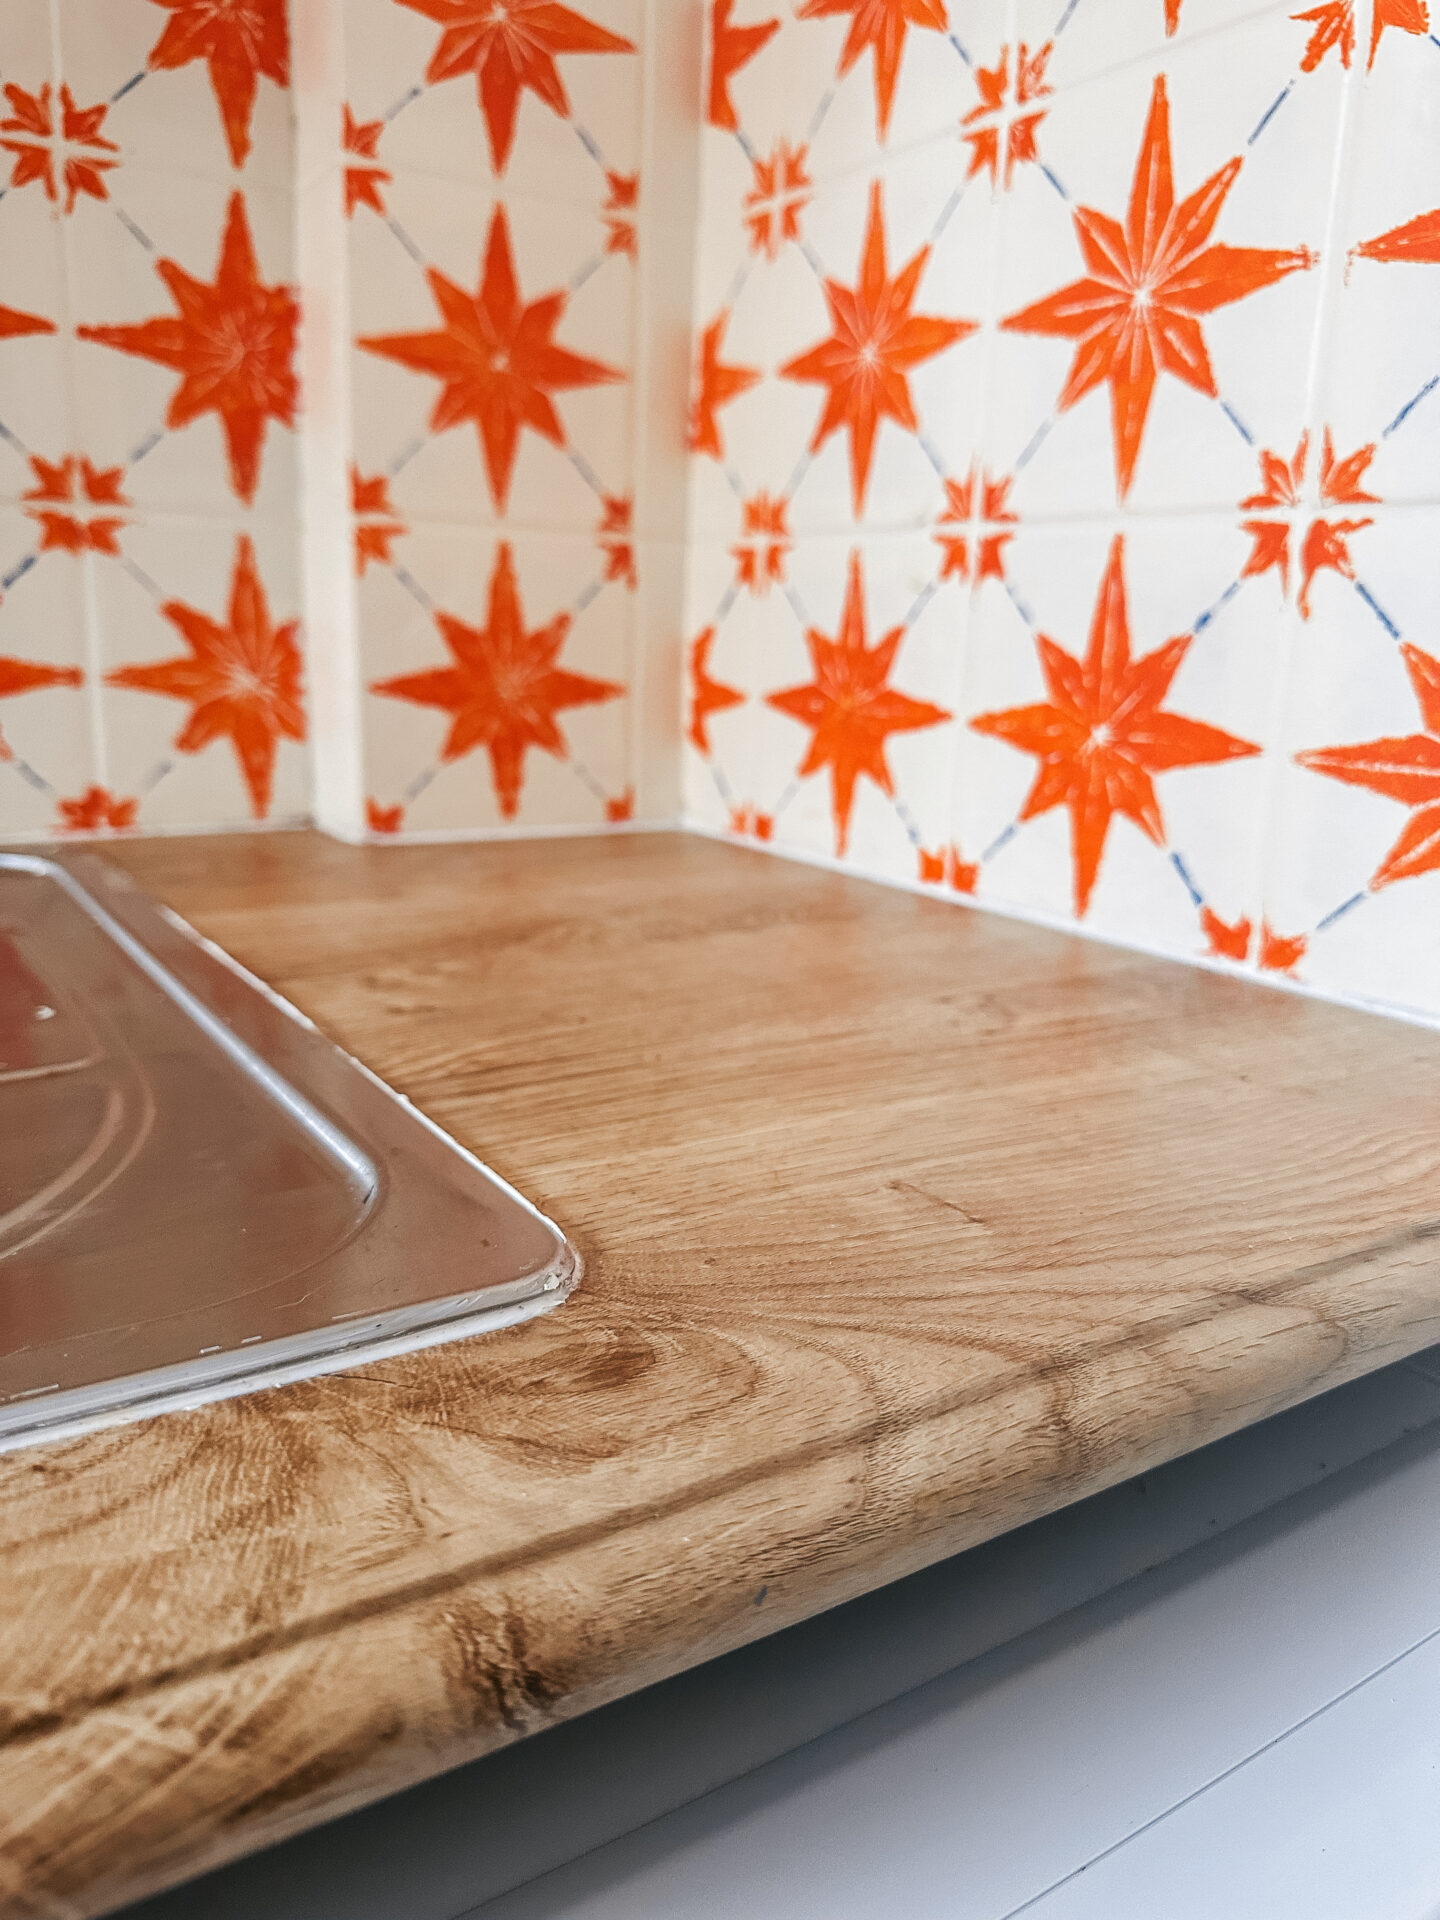
The option I found that worked best was recovering the worktops. I ordered an oak-look vinyl cover from Create Your World. This is fiddly, but if you have patience and the right kit, you can pull it off. I cut mine a little bit too big for the worktops with the idea of cutting to size one it was stuck down. I also found that taking the sink out was a lot easier than going around it, as there’s only a very small space behind the apps. That’s something that I won’t explain here, because I probably did it completely wrong, but I’d definitely recommend researching before you attempt.
You want to take your time with this to make sure you get all the air bubbles out. Start at one end and peel the back off just at that end to stick down. Then gradually peel and smooth down as you go along the worktop. Don’t peel the whole back off at once, it’ll get stuck and then make it difficult to do perfectly. Don’t use your hand to smooth it down, definitely get yourself a spatStanleyl. Then, when you’re finished just use a stanley knife to very carefully slice around the edges.
Finally, use a sealant to go over the edges that meet wall or tile.
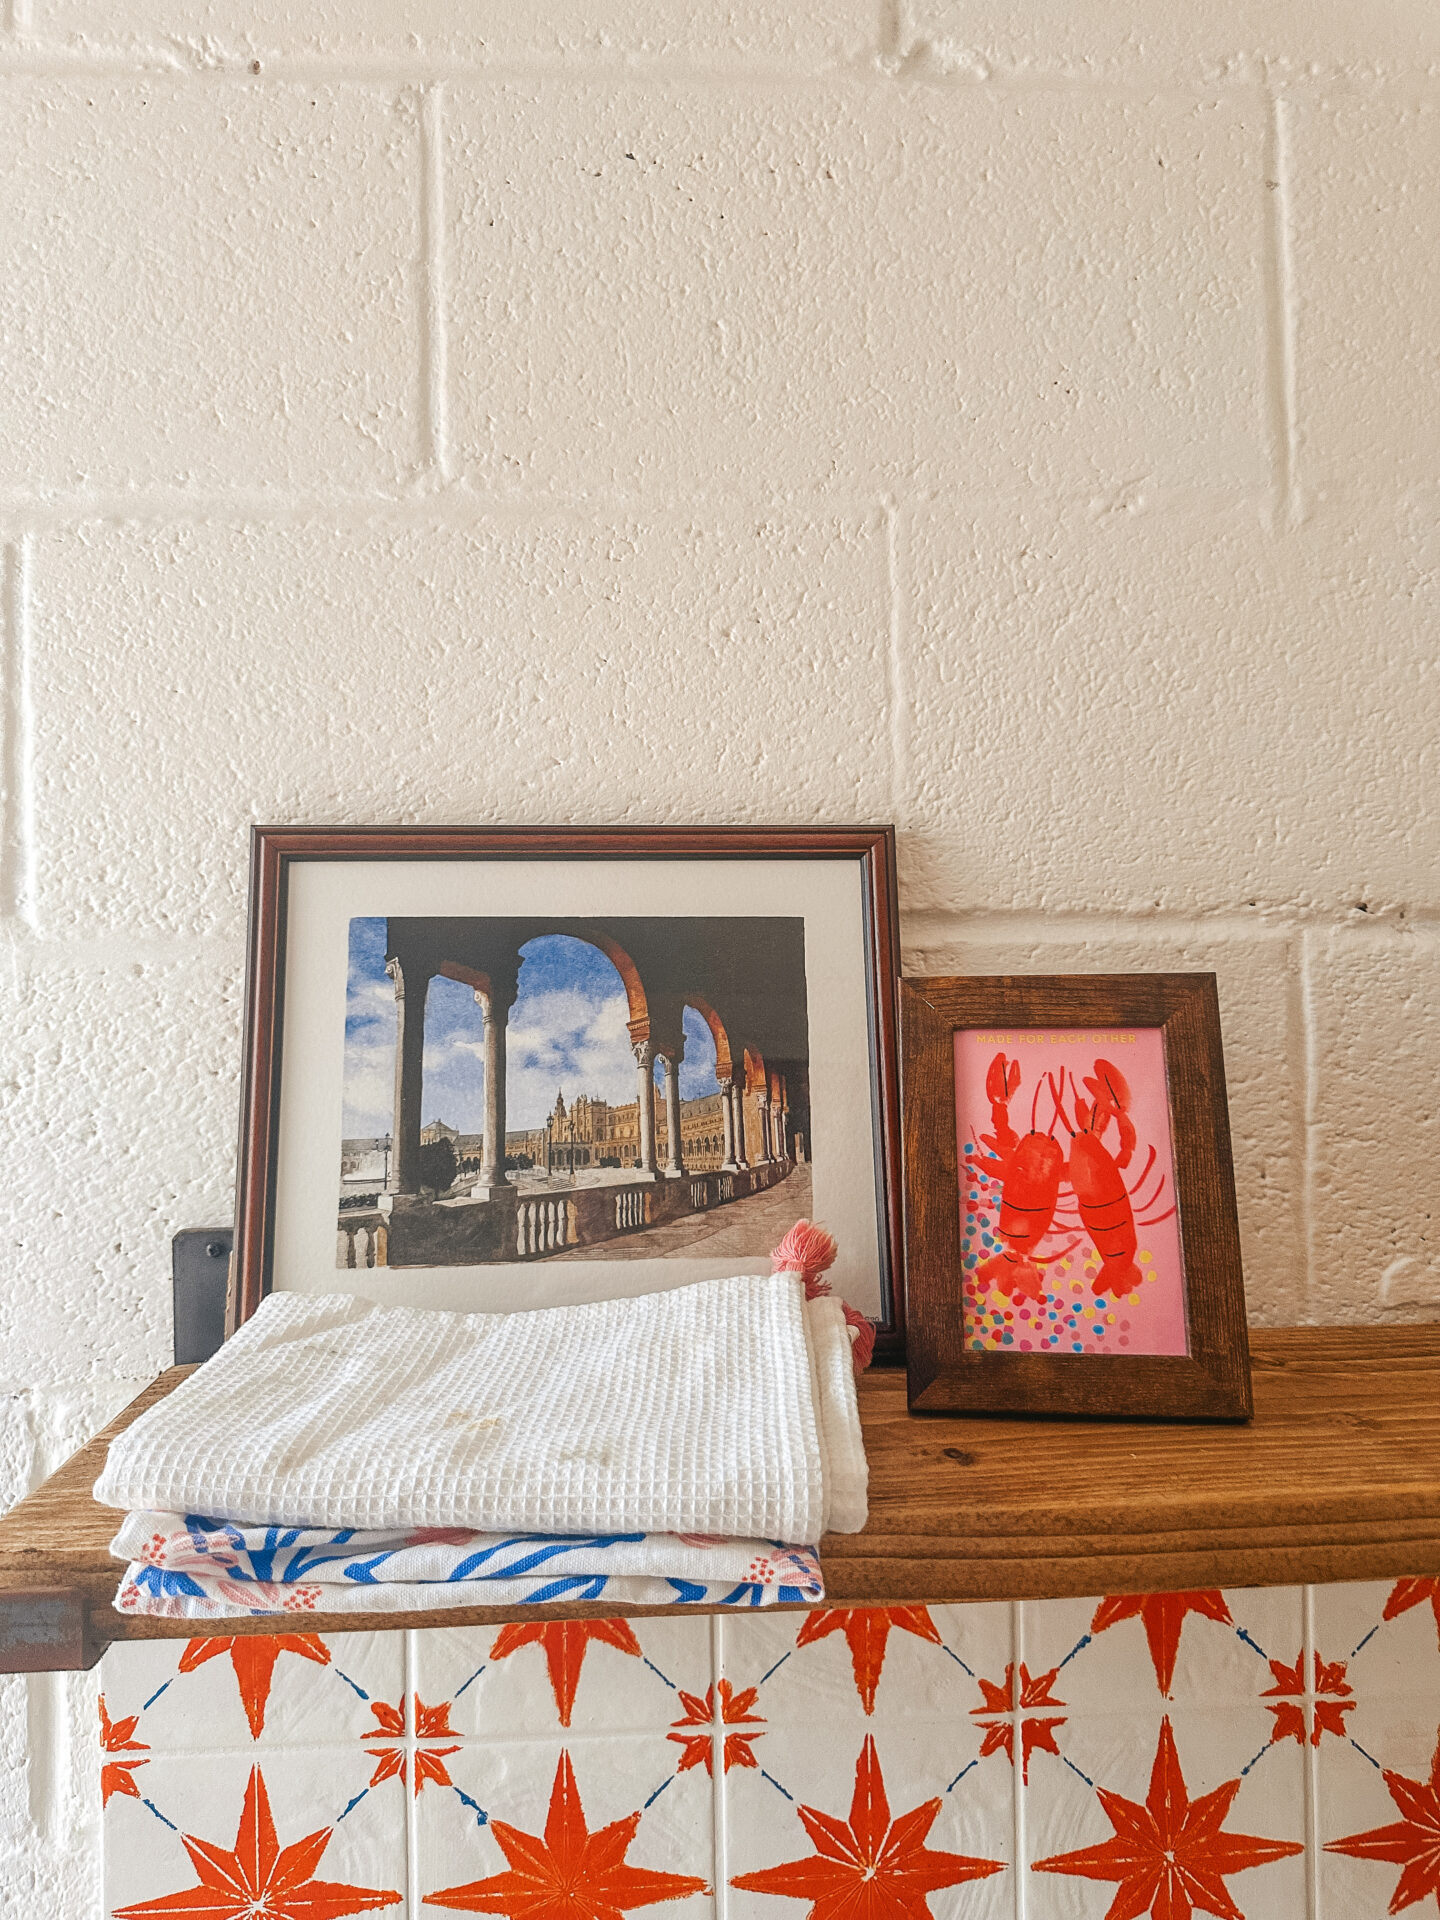
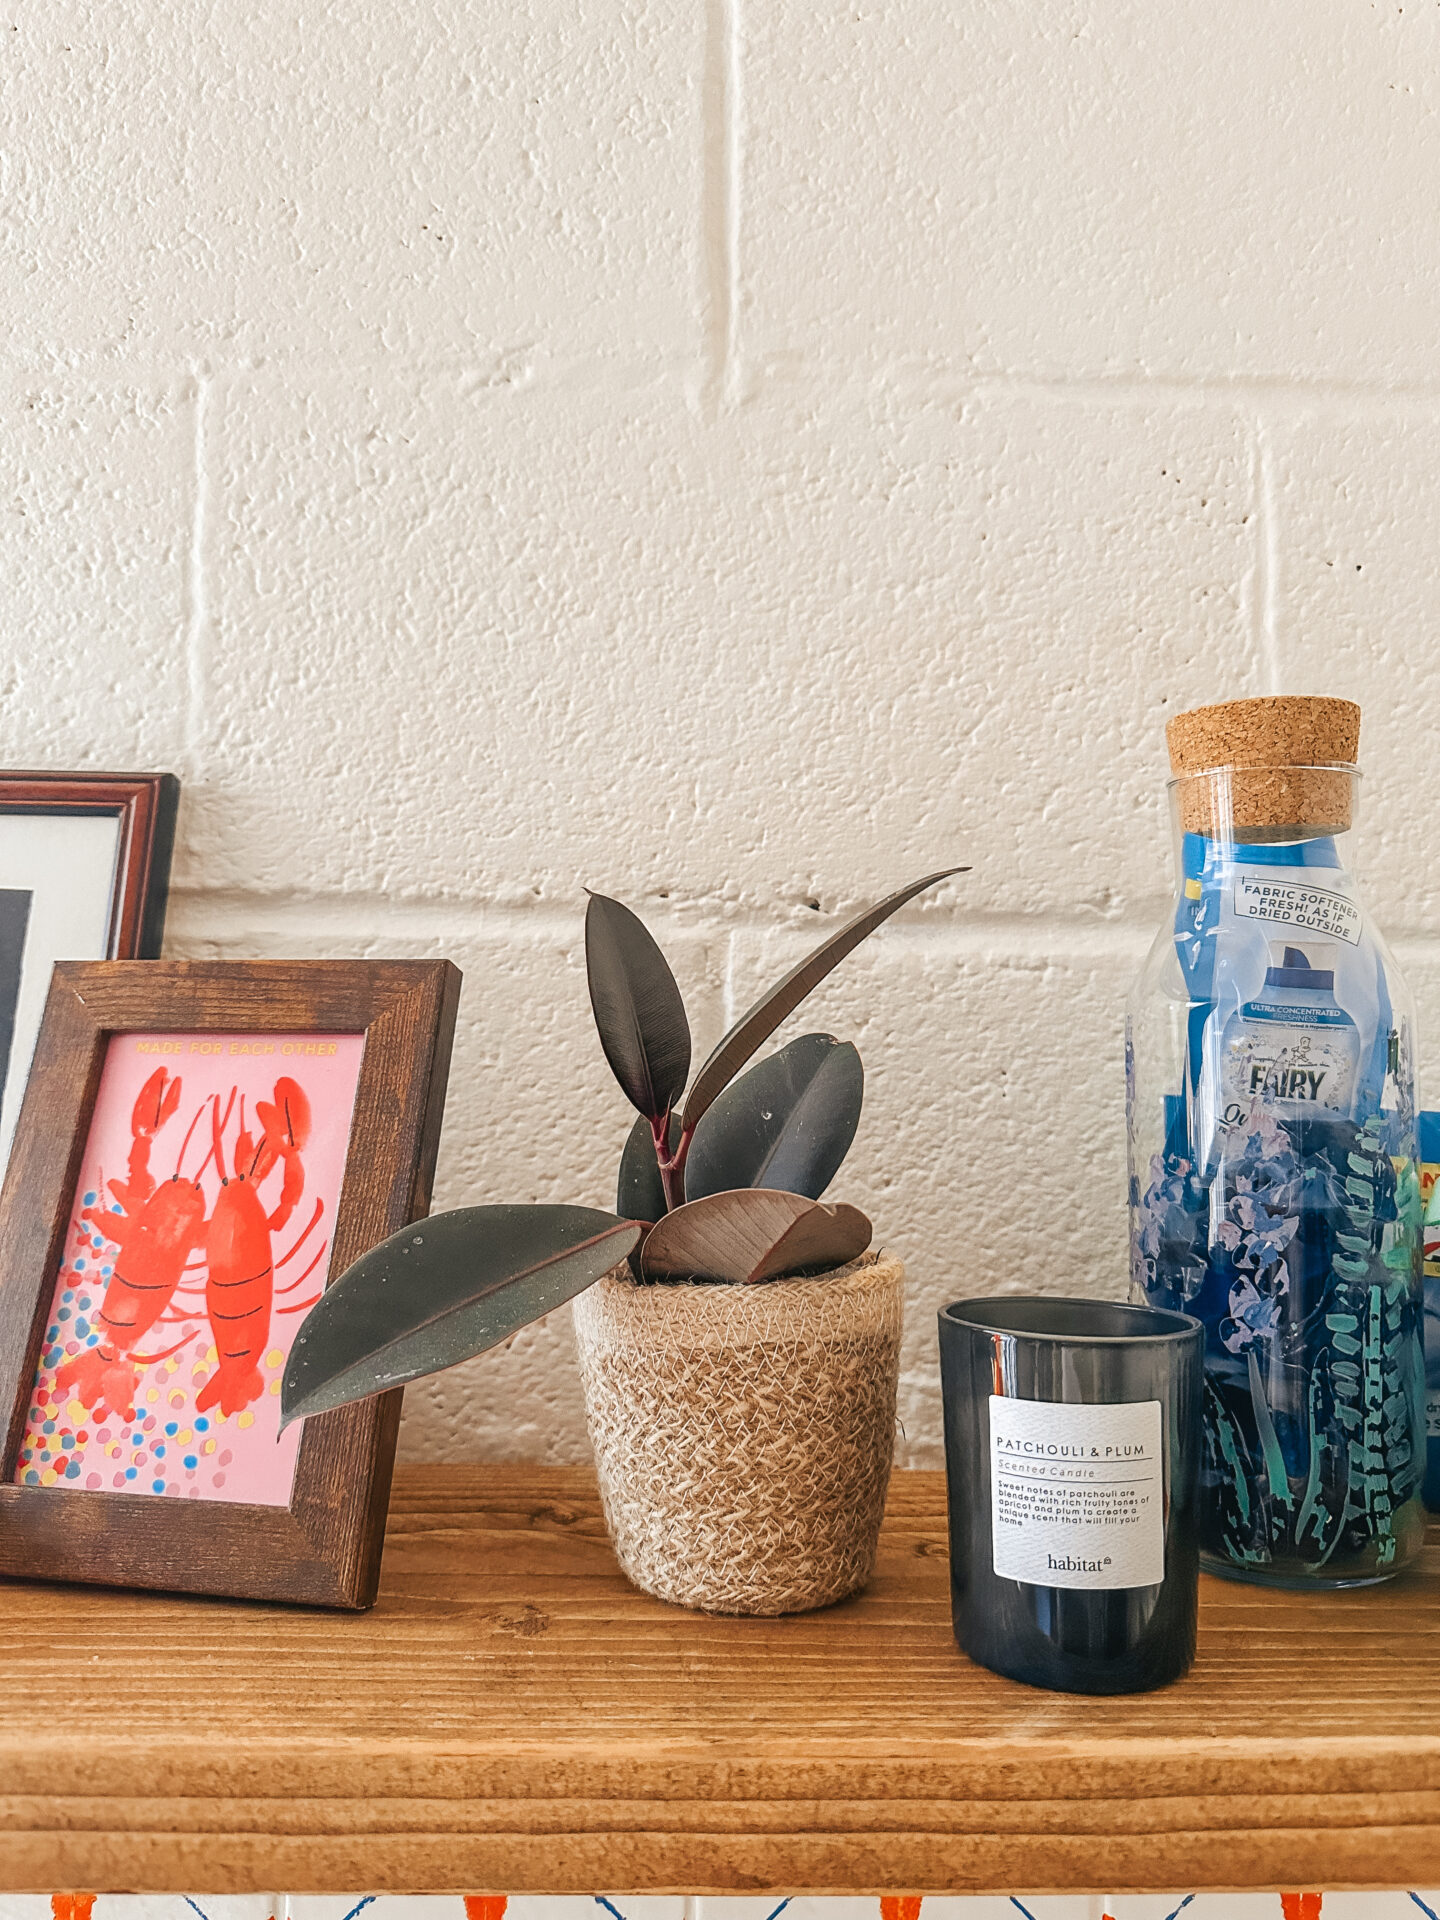
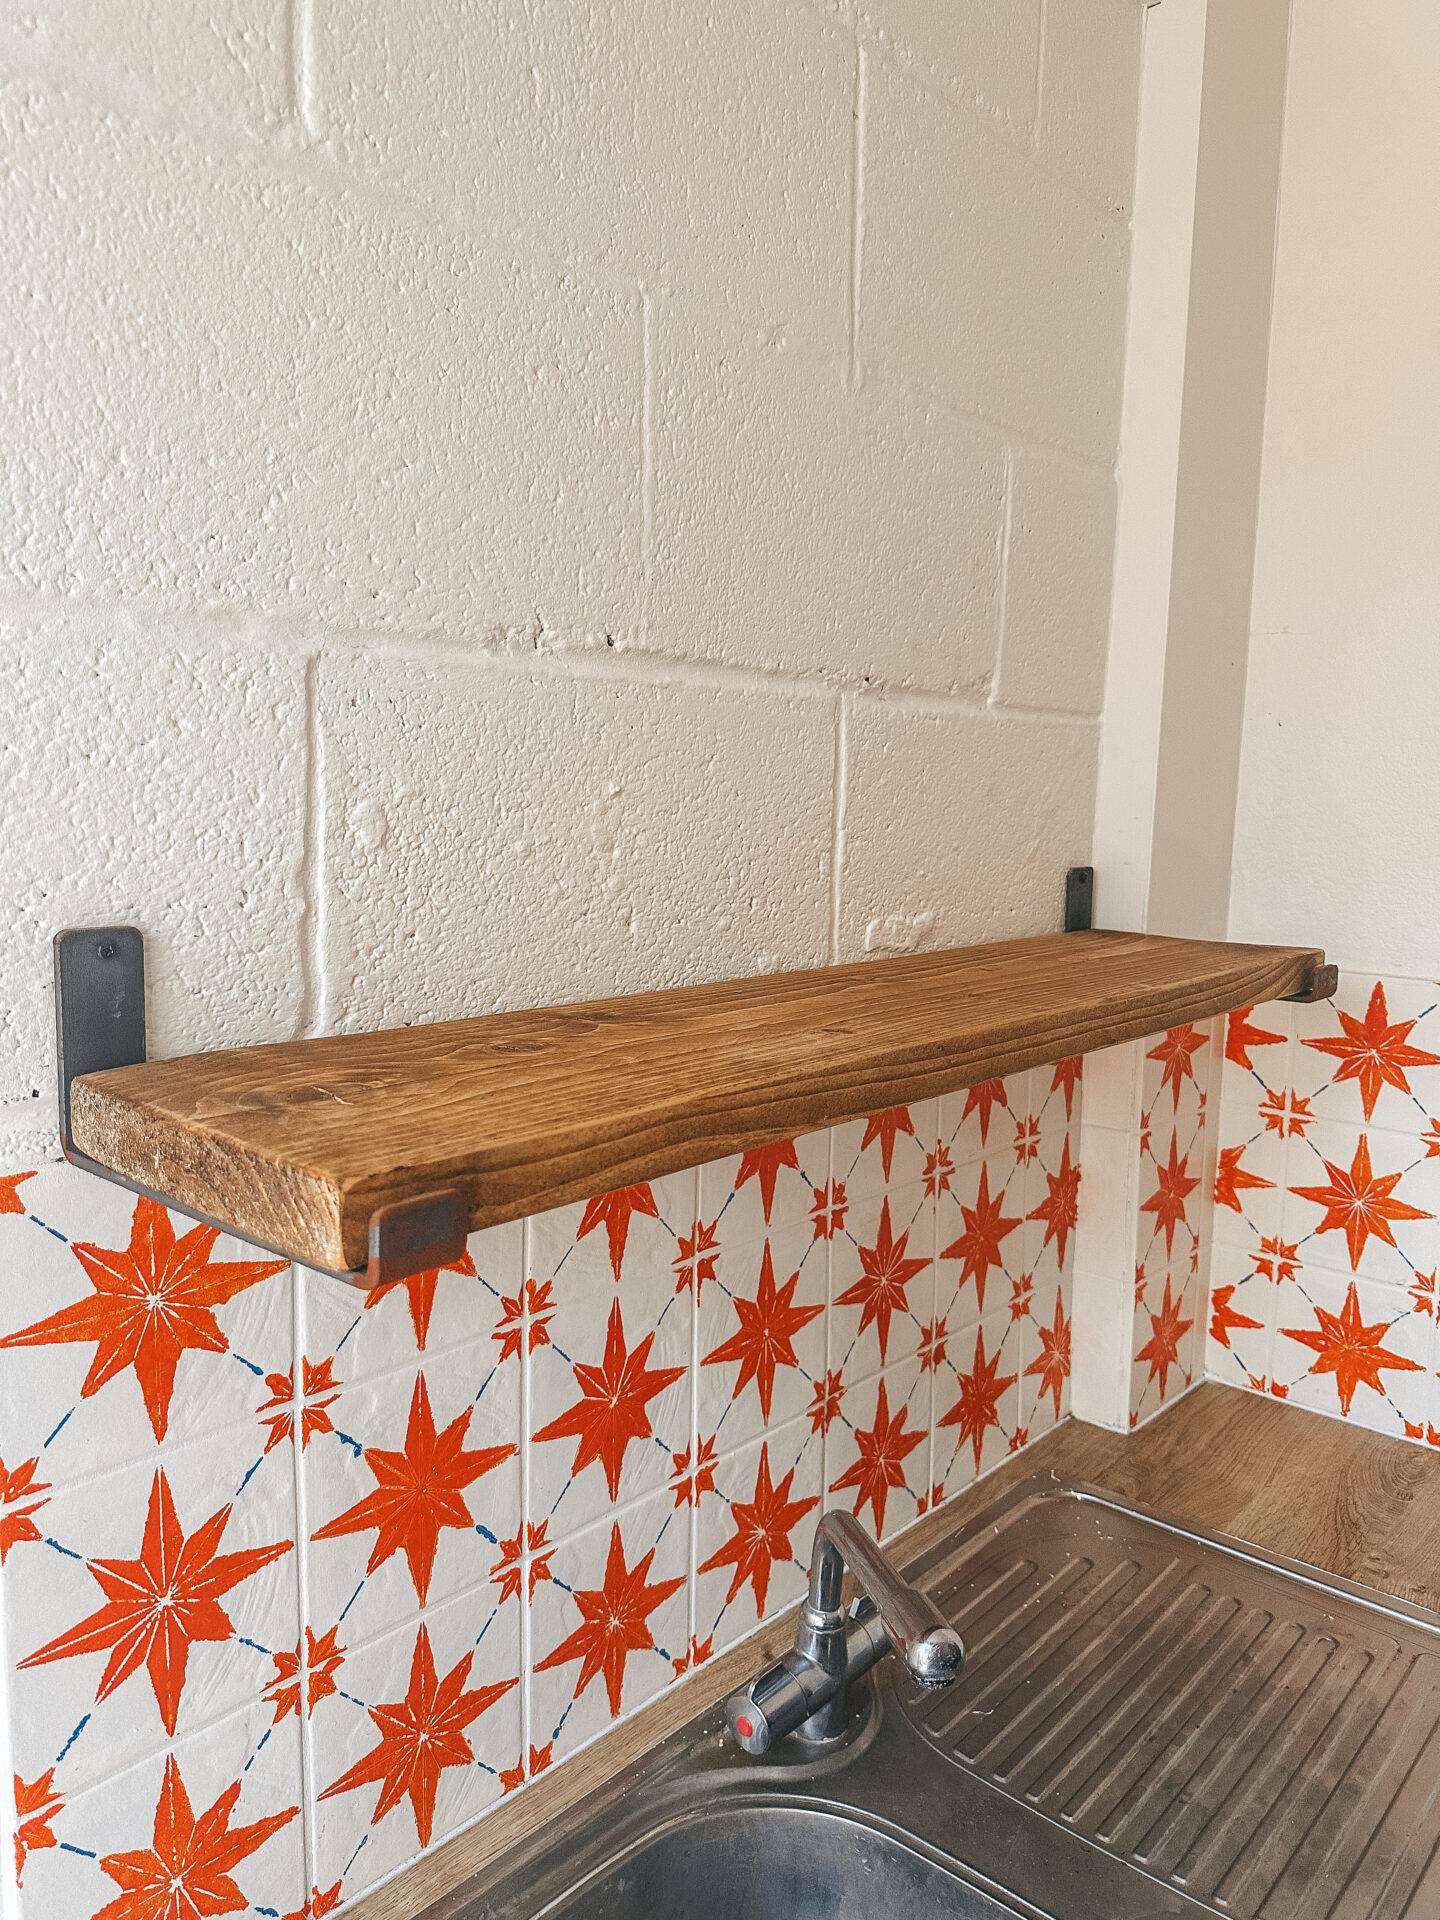
Styling with Accessories
My favourite bit. Once everything is decorated, putting the personal touch on it. I started with a rustic shelf above the sink. I went for this one from Etsy. Then I decorated with my accessories – I mainly went for rustic, rattan pieces. I’ll link below anything I bought or similar items.
And that was how was DIY-ed our utility room on a budget. It was surprisingly easy, I was expecting it to become a massive project if you’re planning to do it all yourself, but there are ways to avoid falling into that trap.
Let me know if you try any of these!