Flaylay: an image or a style of photograph in which a number of things are arranged on a surface and then photographed from above (Cambridge Dictionary).
Morning everyone – another week with not many blog posts, but I’ve been busy making face masks this week. I didn’t ever think I’d be doing that, but hey ho, it’s been a strange year.
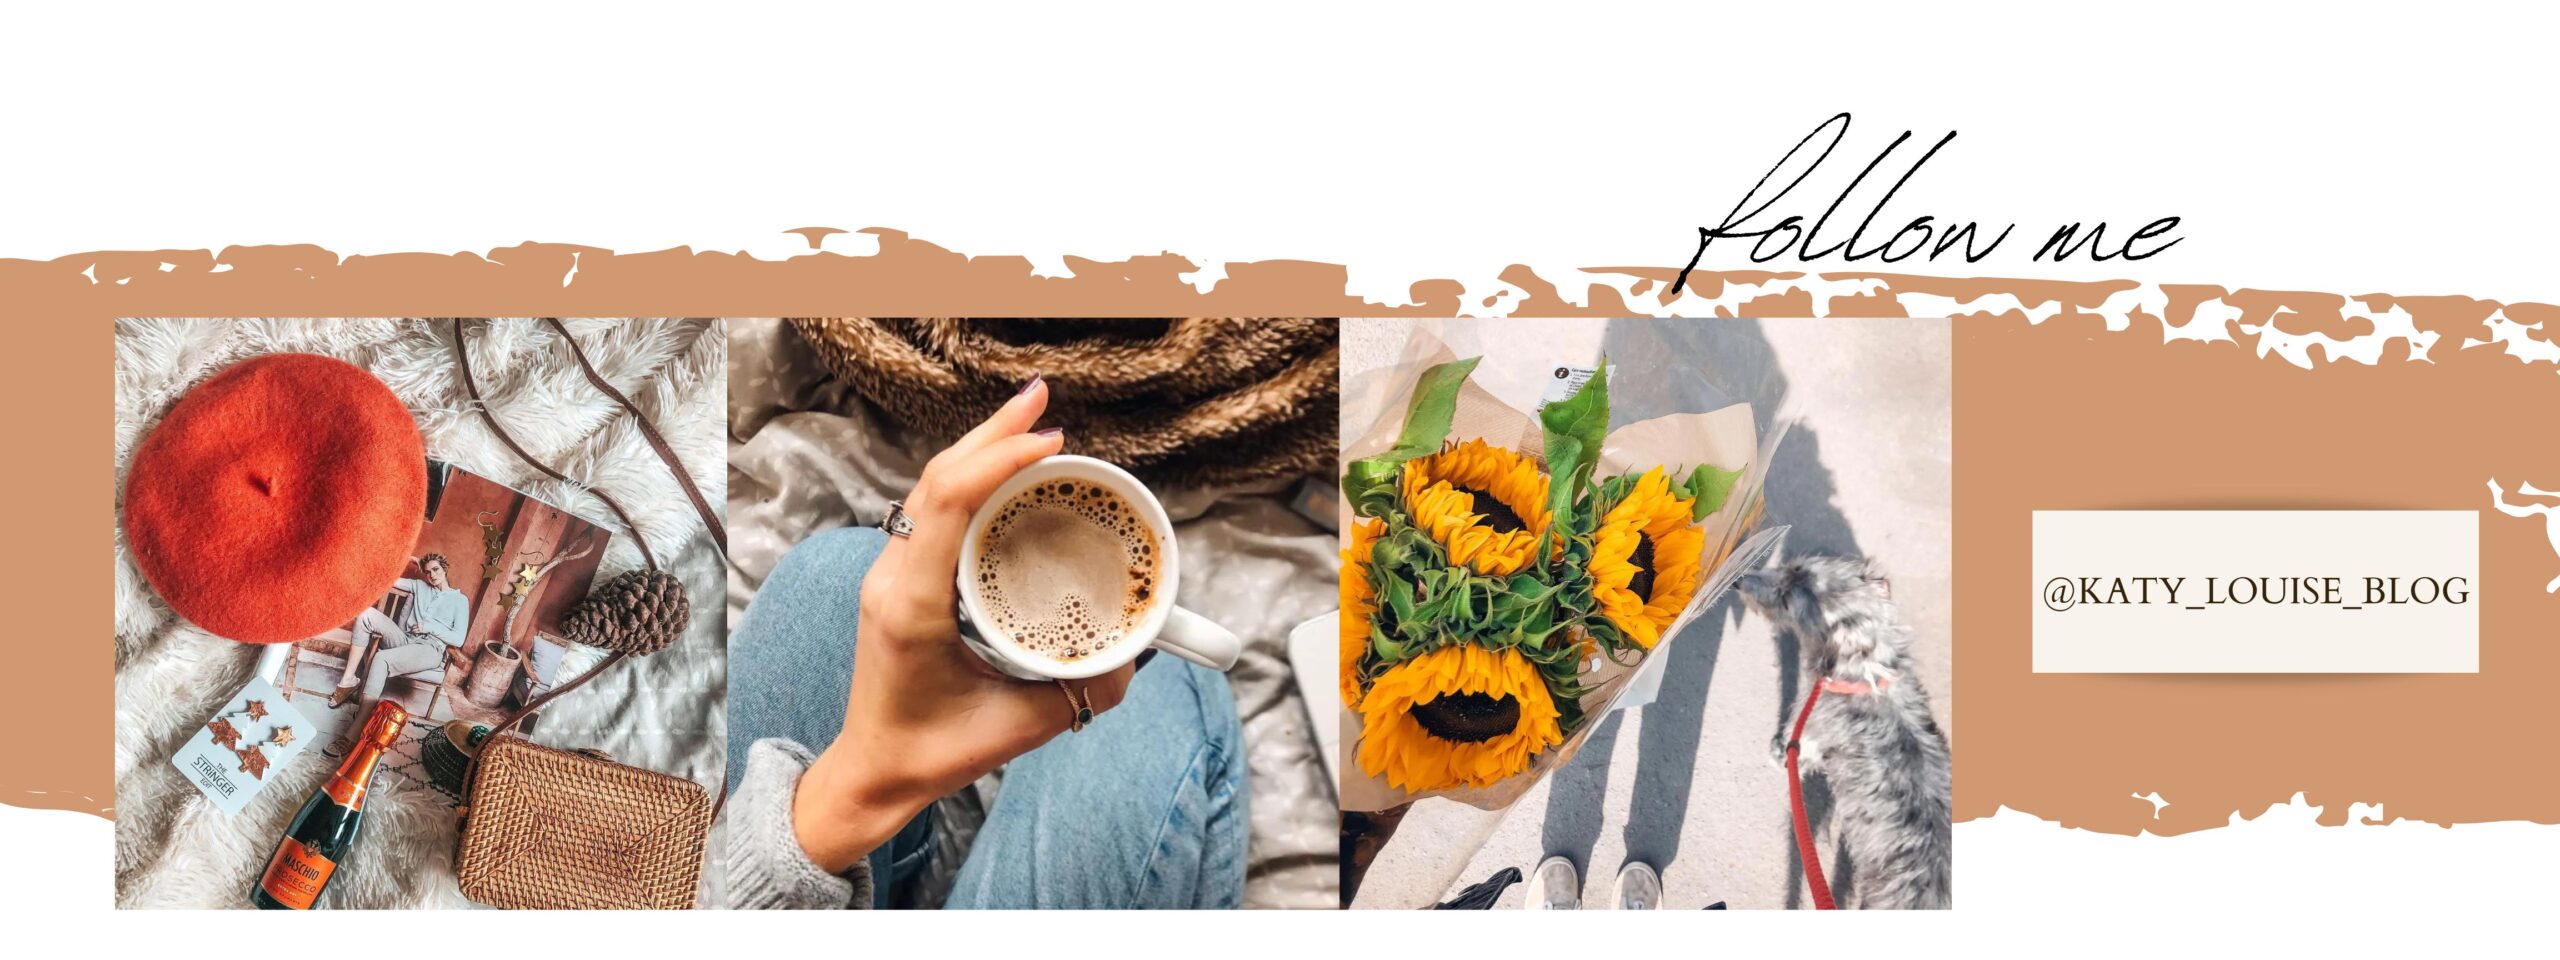
Today’s post is about flatlays, which are actually really simple to create. A lot of bloggers and Instagrammers use flat lay photography on their pages, and create some really interesting and beautiful images. They are really easy to make, but here’s a few tips on how to create the perfect flatlay for yourself.
1. Create the base layer/background
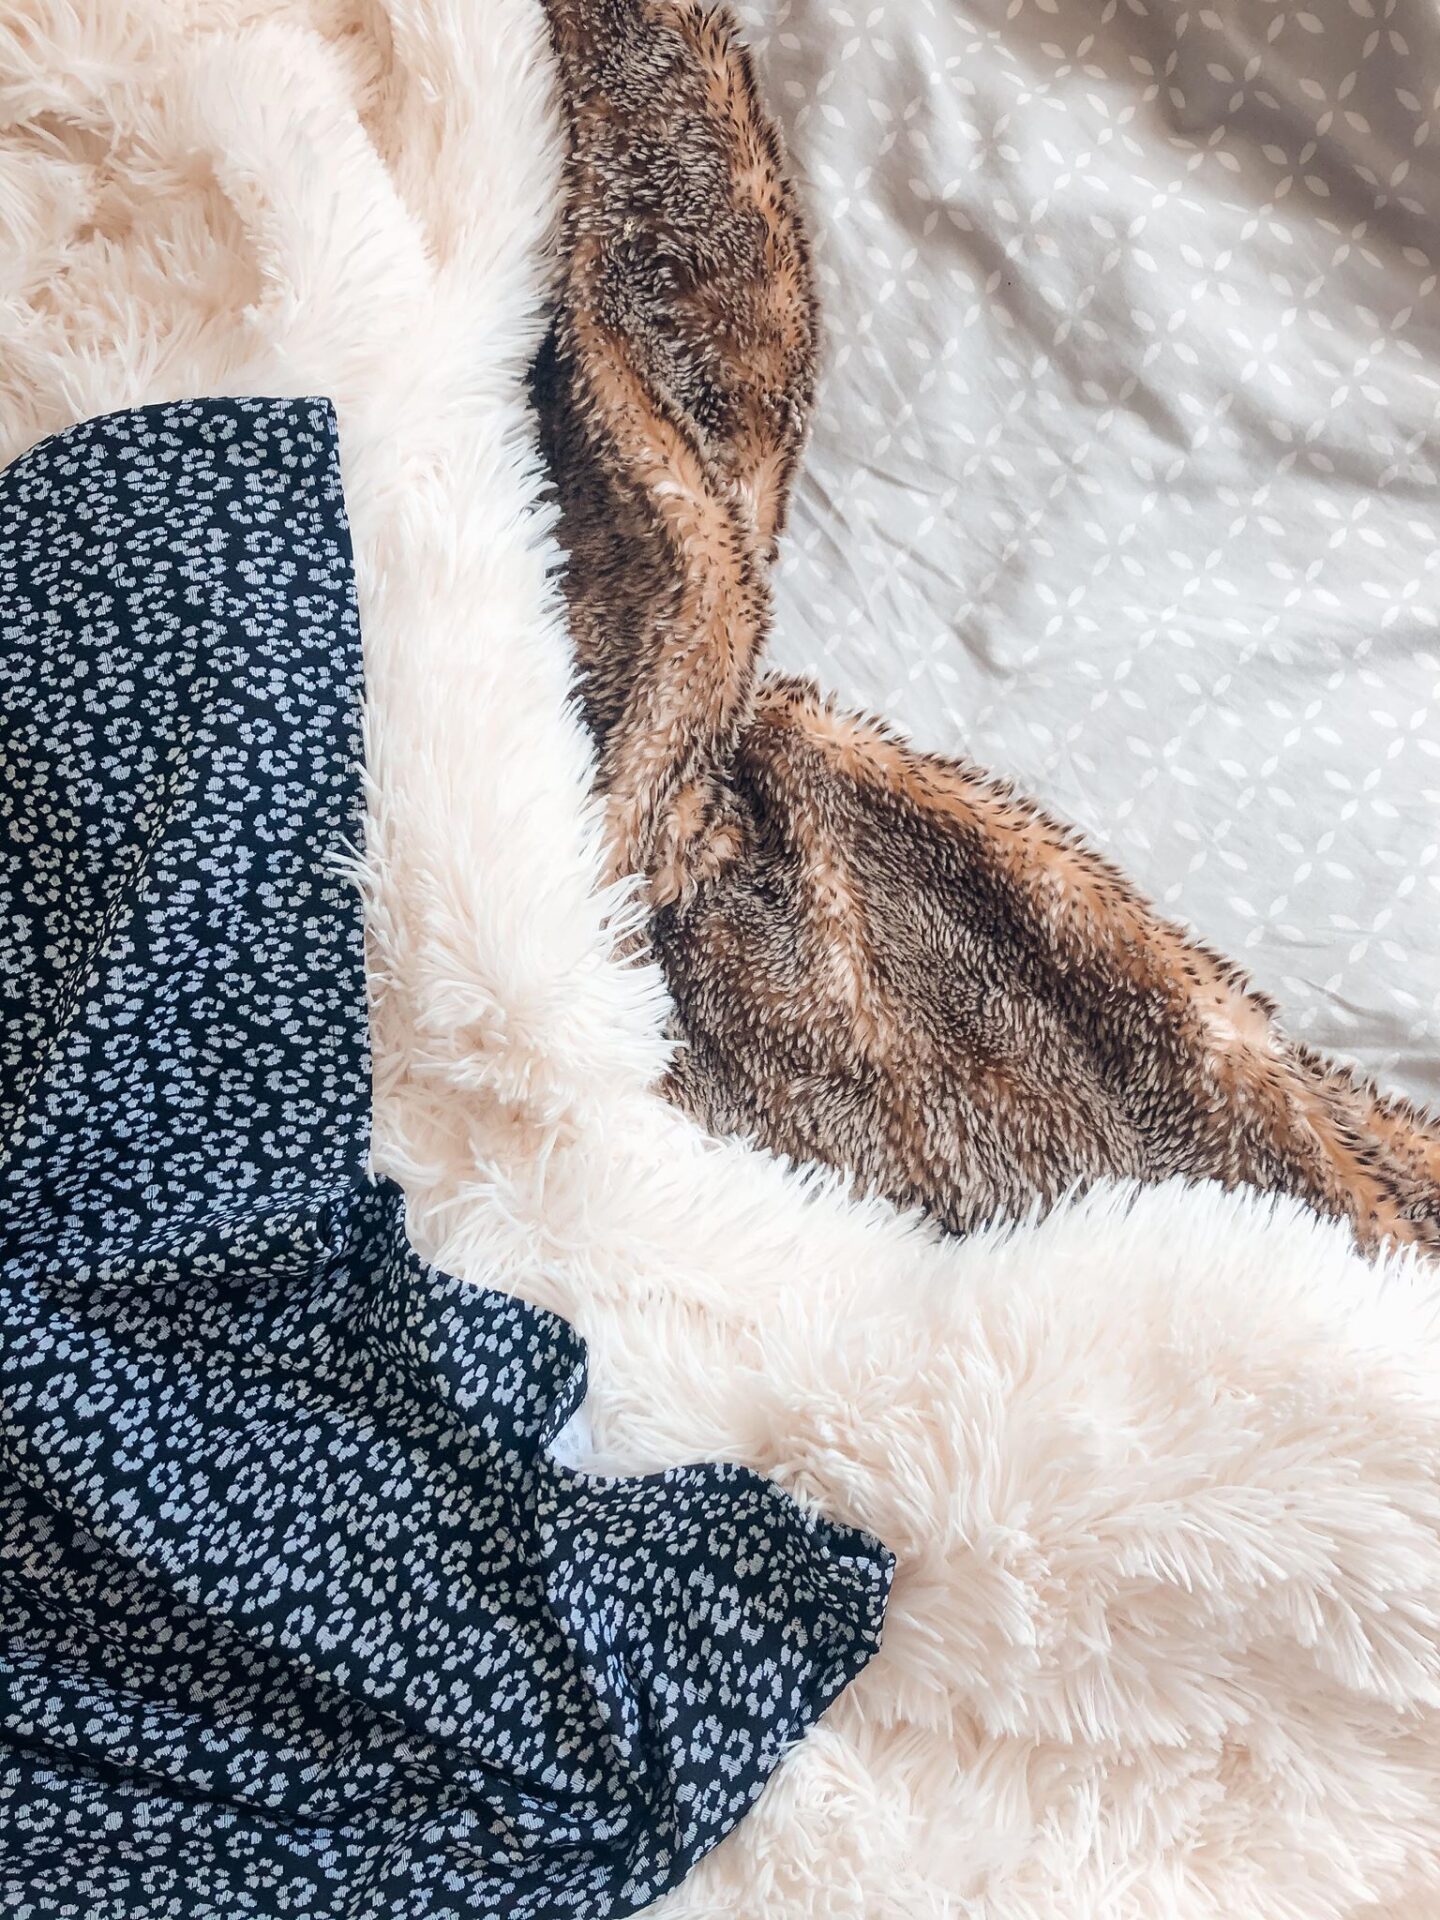
The surface you use will depend a lot on the theme of your photograph, the colours you want to go for, and the general look. Most of the time I just use my duvet cover, as it’s a nice flat surface to work with. Then you can decide whether you want to add a second layer, like a throw or a blanket. I even use things like scarves of the edges of dresses, just to add an extra frame to the photo.
It’s also fun to use this part of the flatlay for a little texture. That’s why I love using my furry throws.
2. Objects to include
When I’m choosing objects I like to do a little pre-planning. Depending on what I’m writing my post about I’ll list a few objects that I have in mind, and then start my flaylay planning around those. Then it never hurts to have a scan around to make sure there’s nothing that you’ve missed without realising it. I usually manage to find a few extra things.
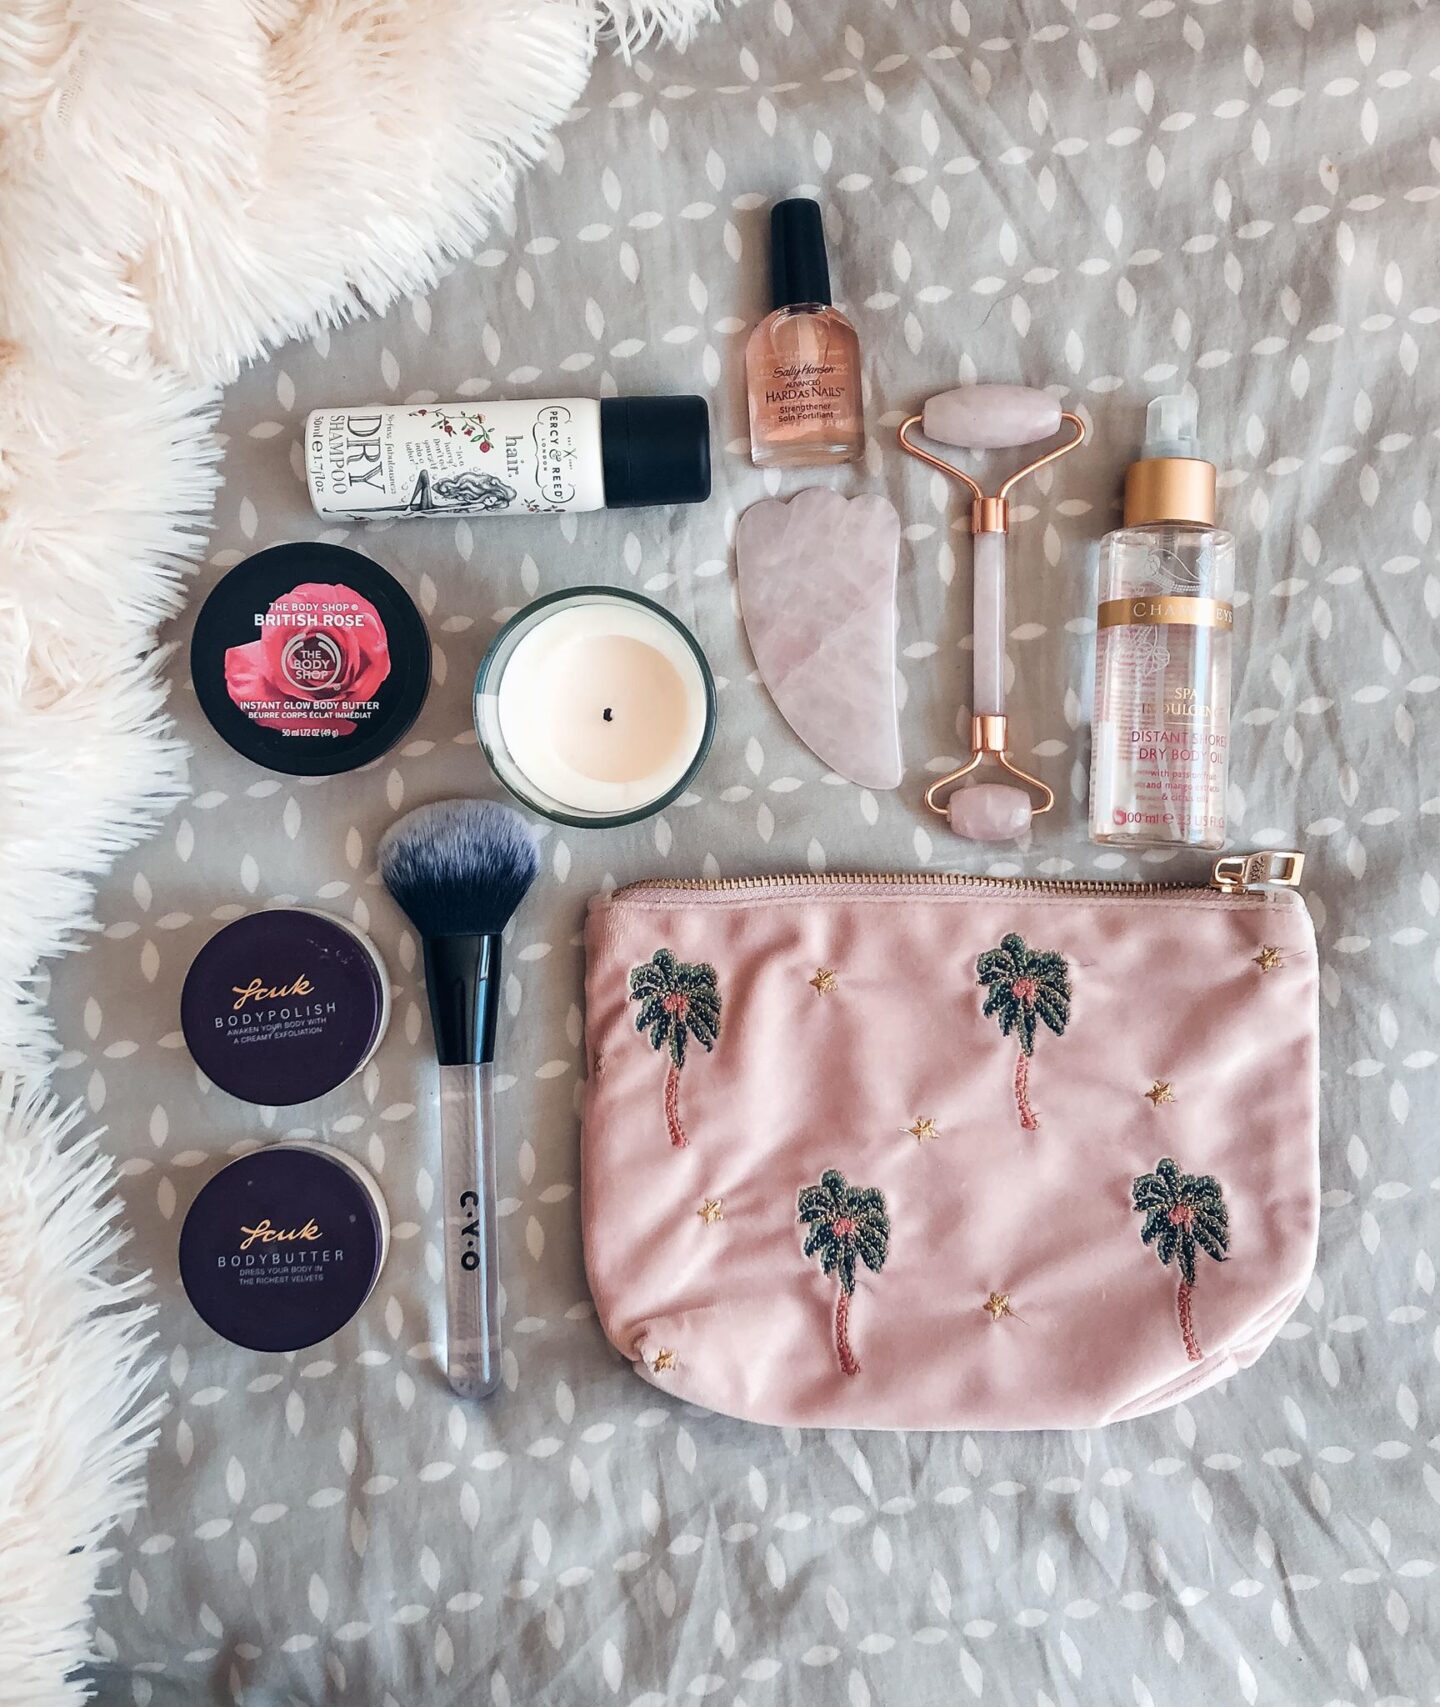
3. The layout
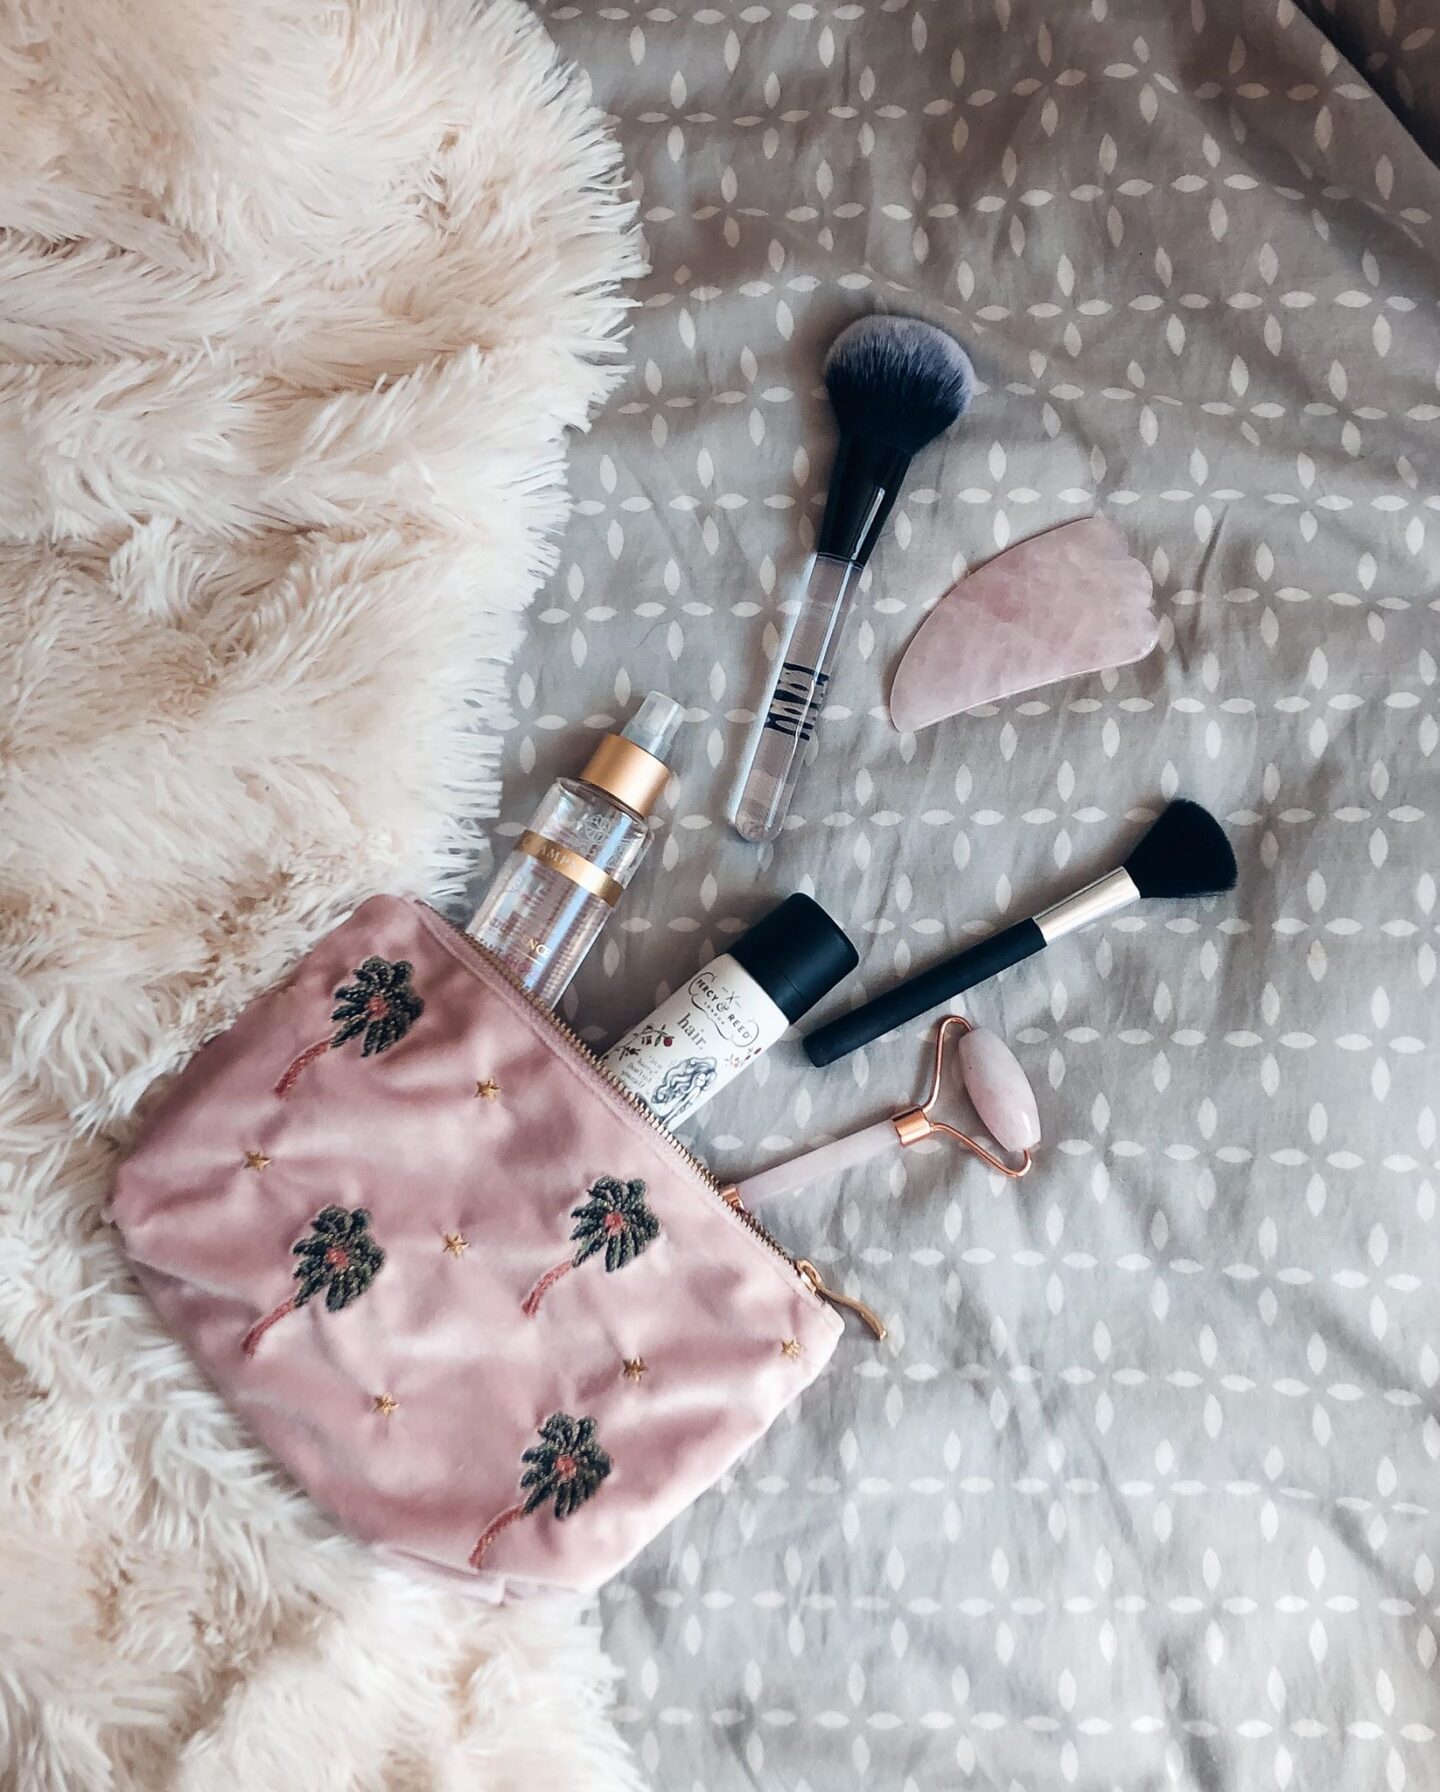
There’s a few layout options when it comes to flaylays. You can go for a formal layout, where everything is in line and doesn’t cross over each other. You can also try a more random layout, which is the one I usually go for. Or, if you’re feeling creative, you can try and do something less static, for example looking like it’s coming out of a bag that’s been dropped.
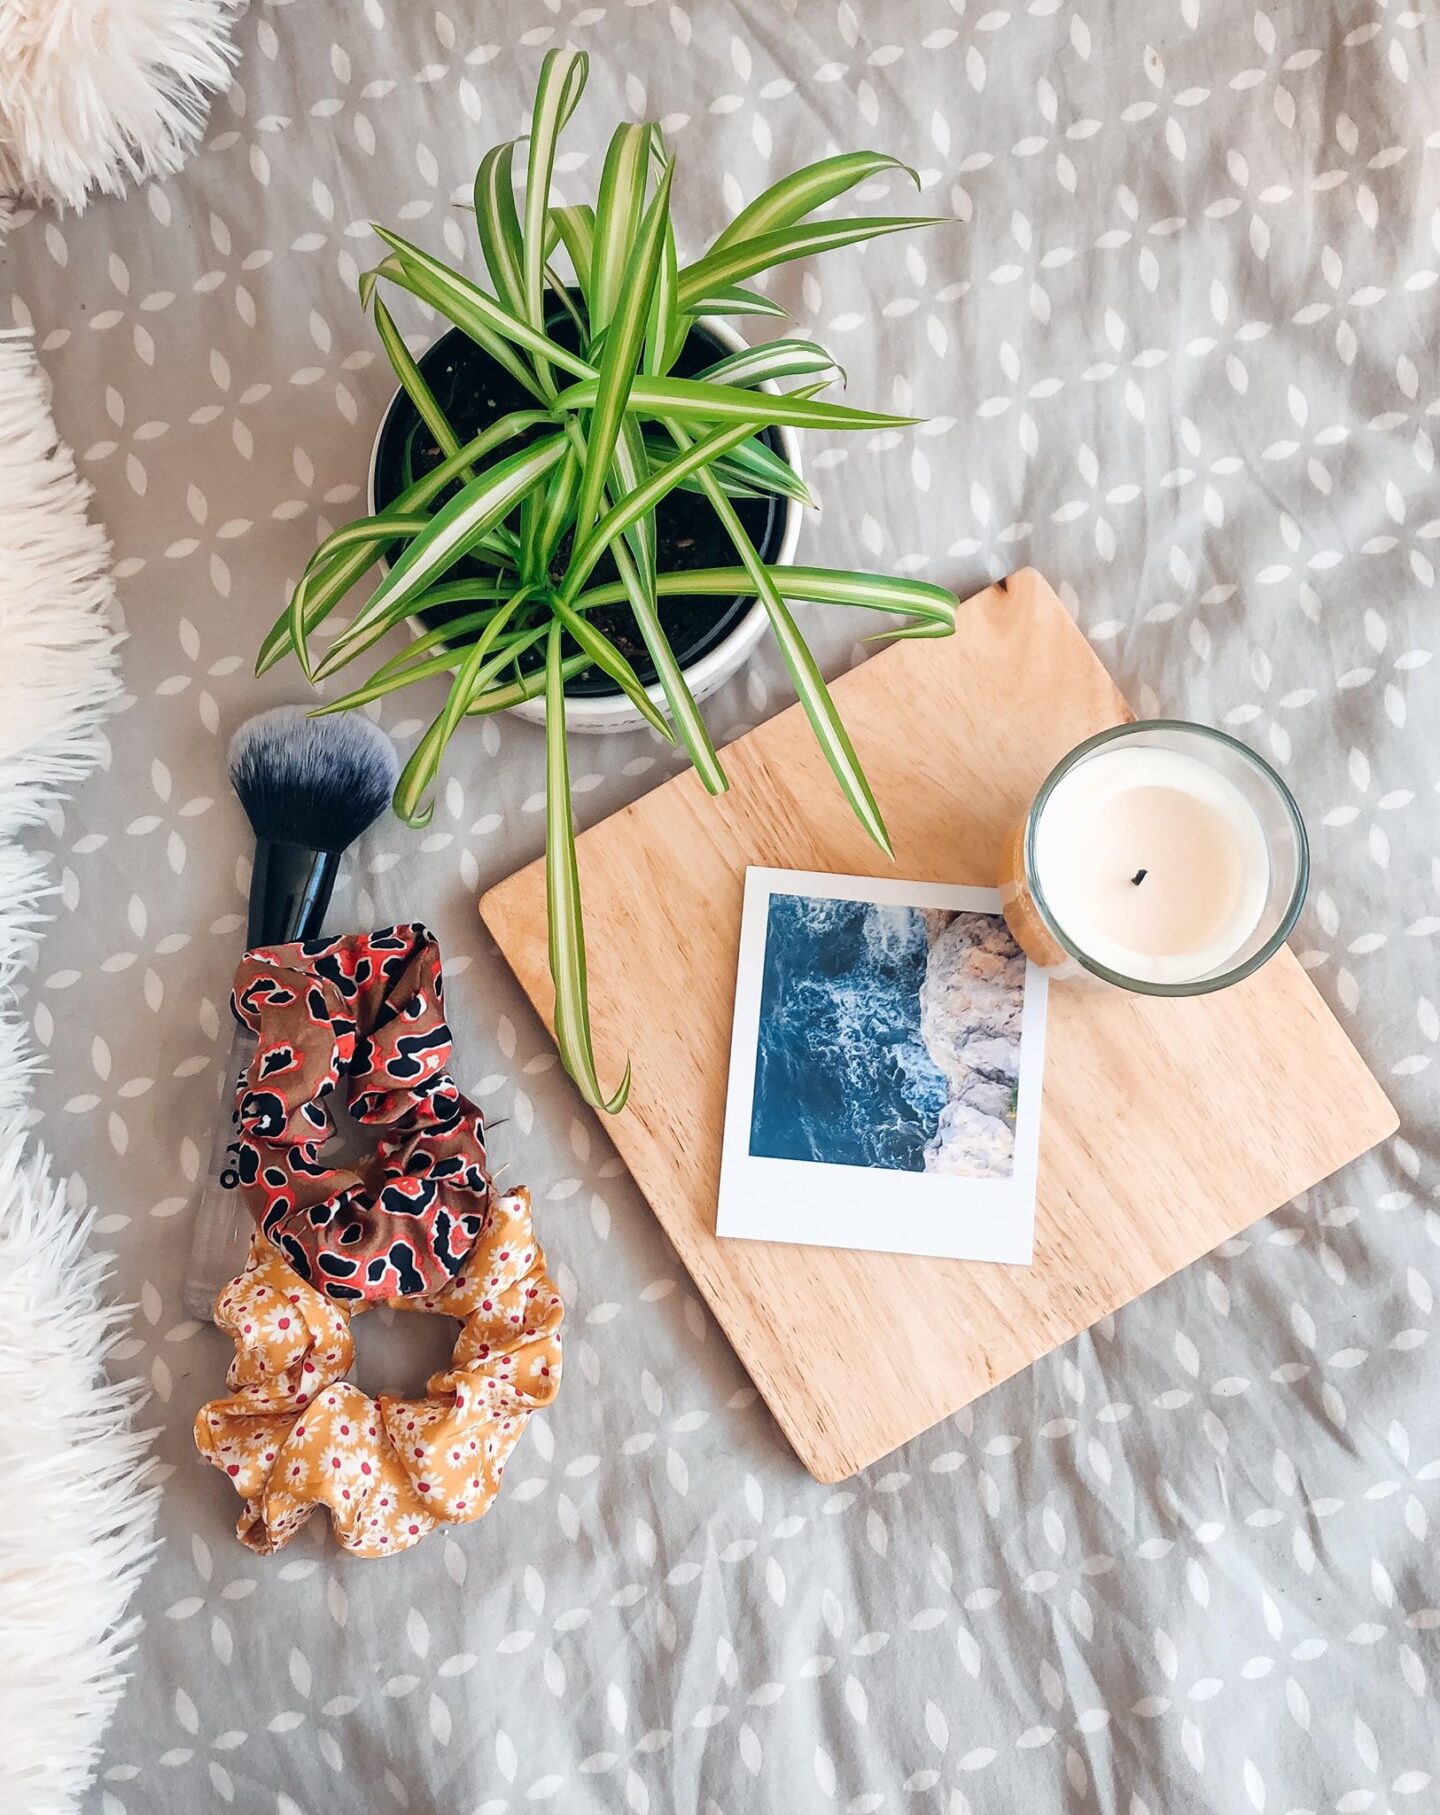
4. Space fillers
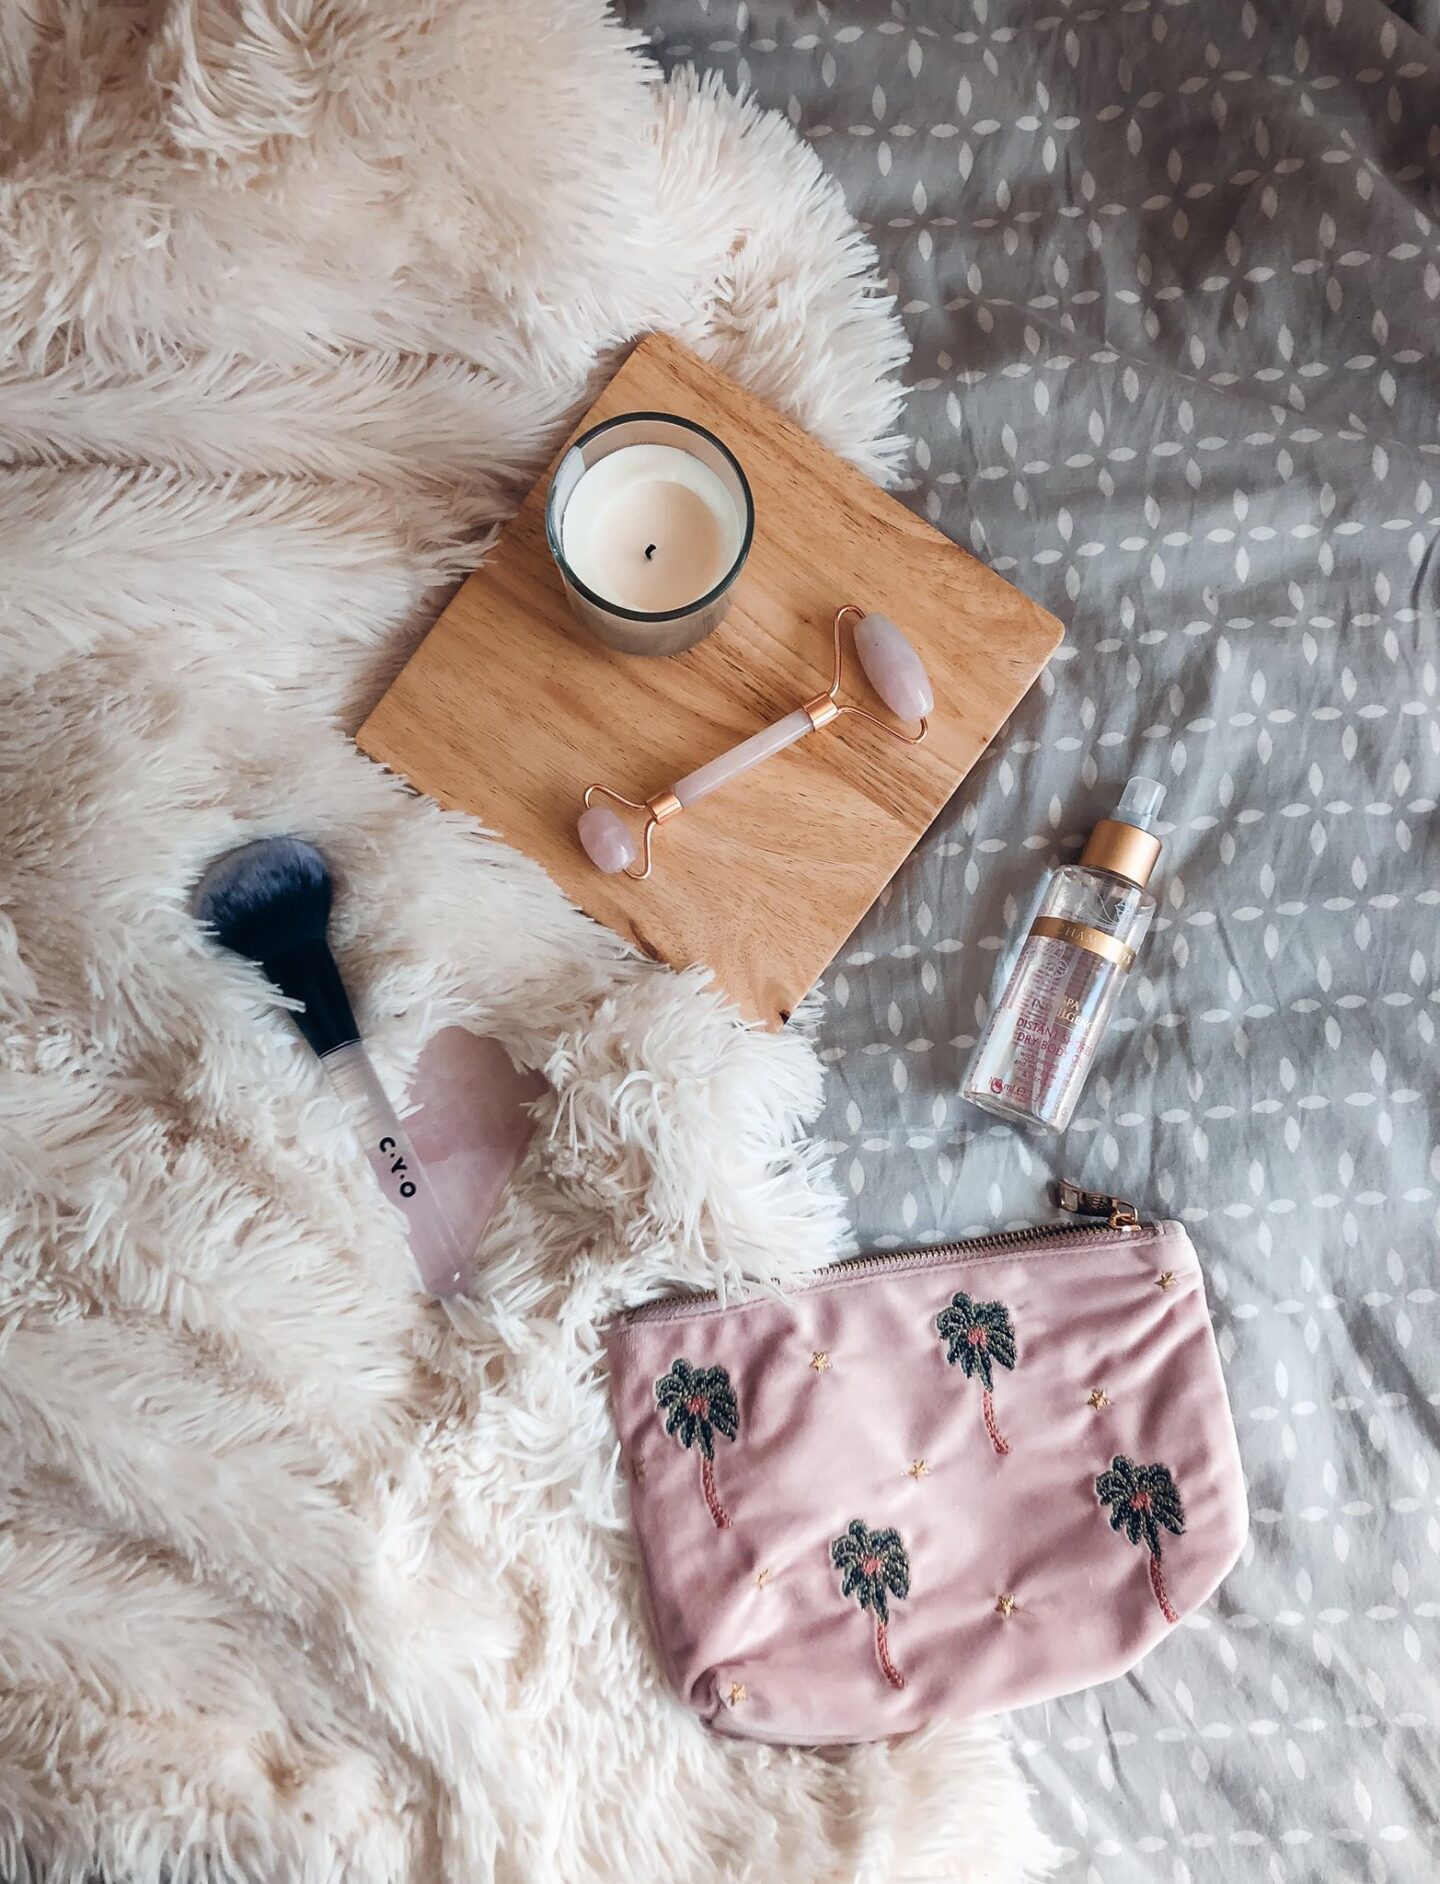
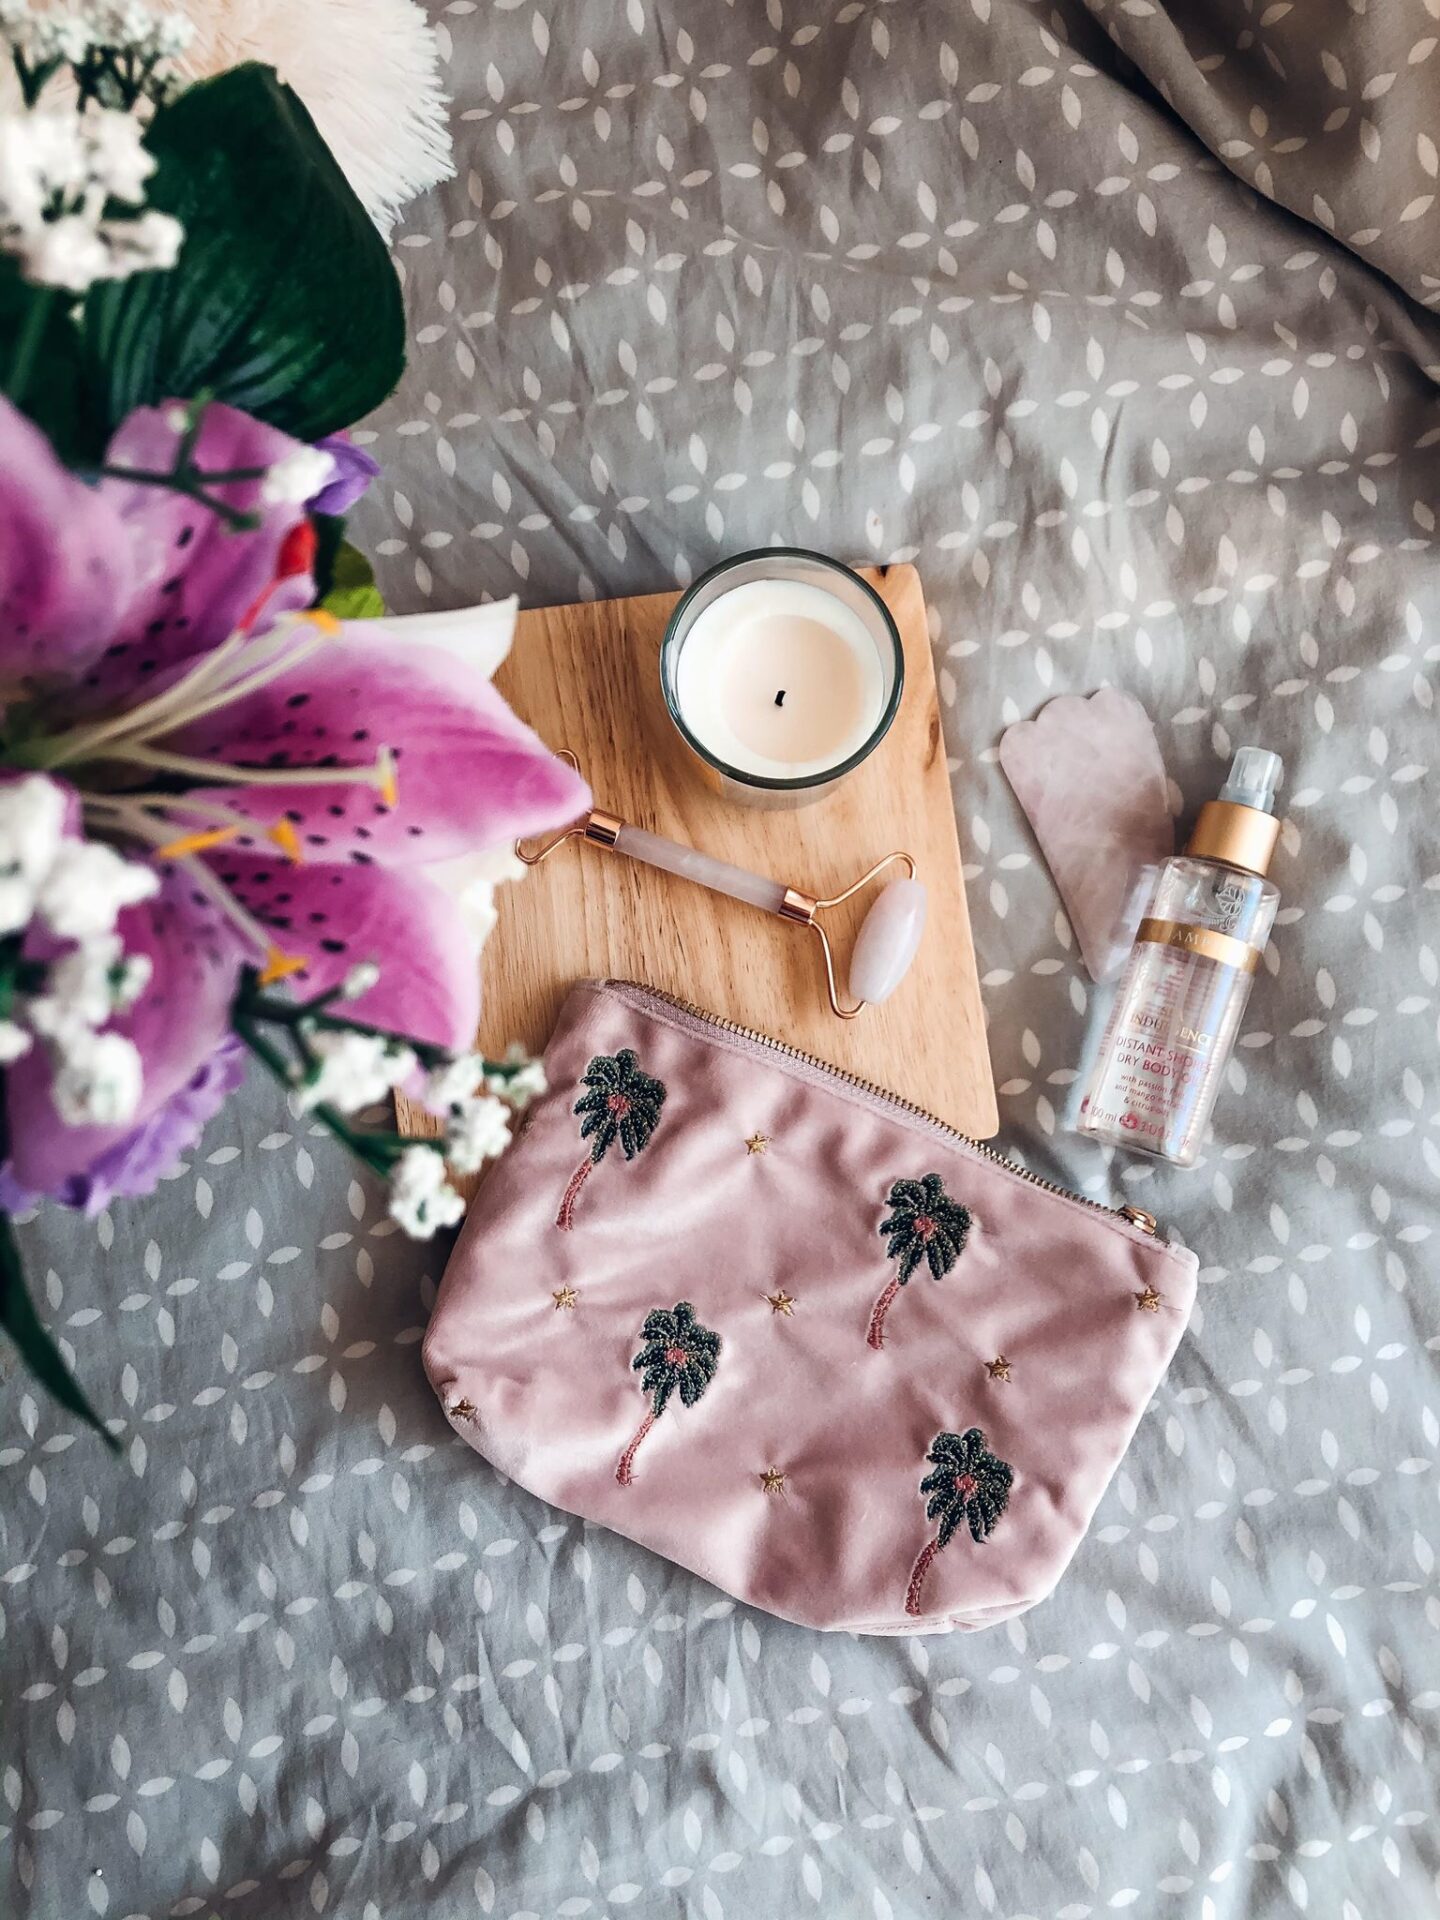
You might be wanting to create a more minimalist flatlay, but if not, you’re going to need some space fillers for the gaps. The key here is that you don’t want to pick anything for this that’s going to draw the attention straight away if you’re not going to talk about it. It obviously depends on the theme of your photo, but things like candles, fairy lights, plants or photos are a great option. Then you can choose a few things relating to the theme to help bulk it out – like make up brushes for beauty flatlays, or hair scrunchies for style flatlays.
You can also throw in another background object for this. One of my favourites is my wooden chopping board, which has so far only been used for photo purposes.
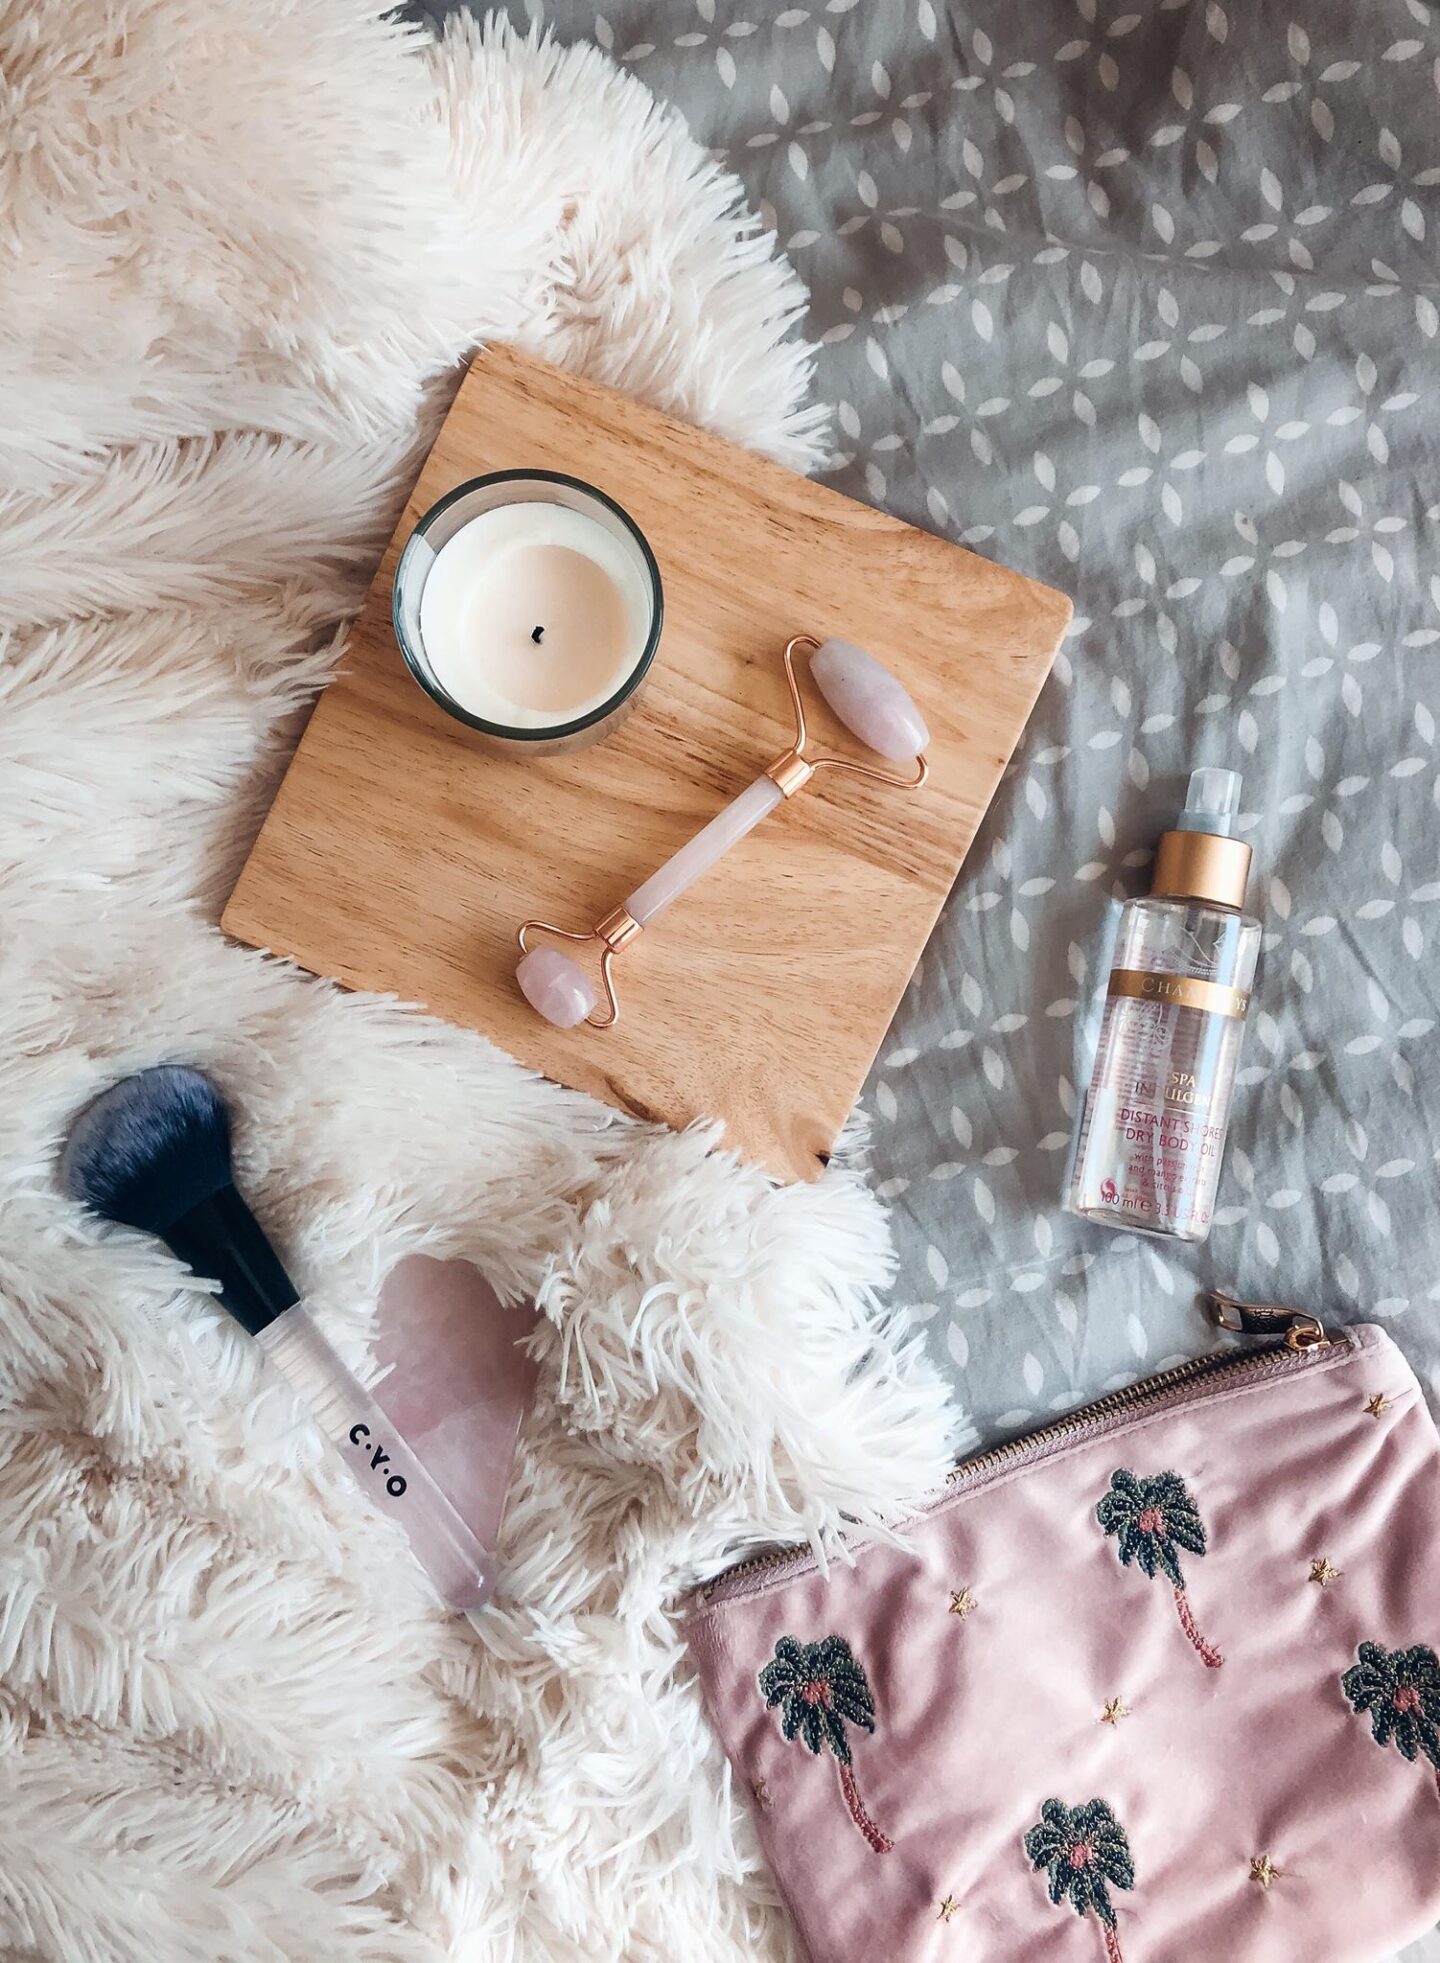
5. Camera angles
Just because it’s a flatlay doesn’t mean you’re limited to birds-eye photography. Obviously that is the favourite, and is usually the best viewpoint to see everything, and is generally the angle you have in mind when setting it up.
But it’s always worth trying different angles before you pack away. Try taking it from the side looking over the objects.
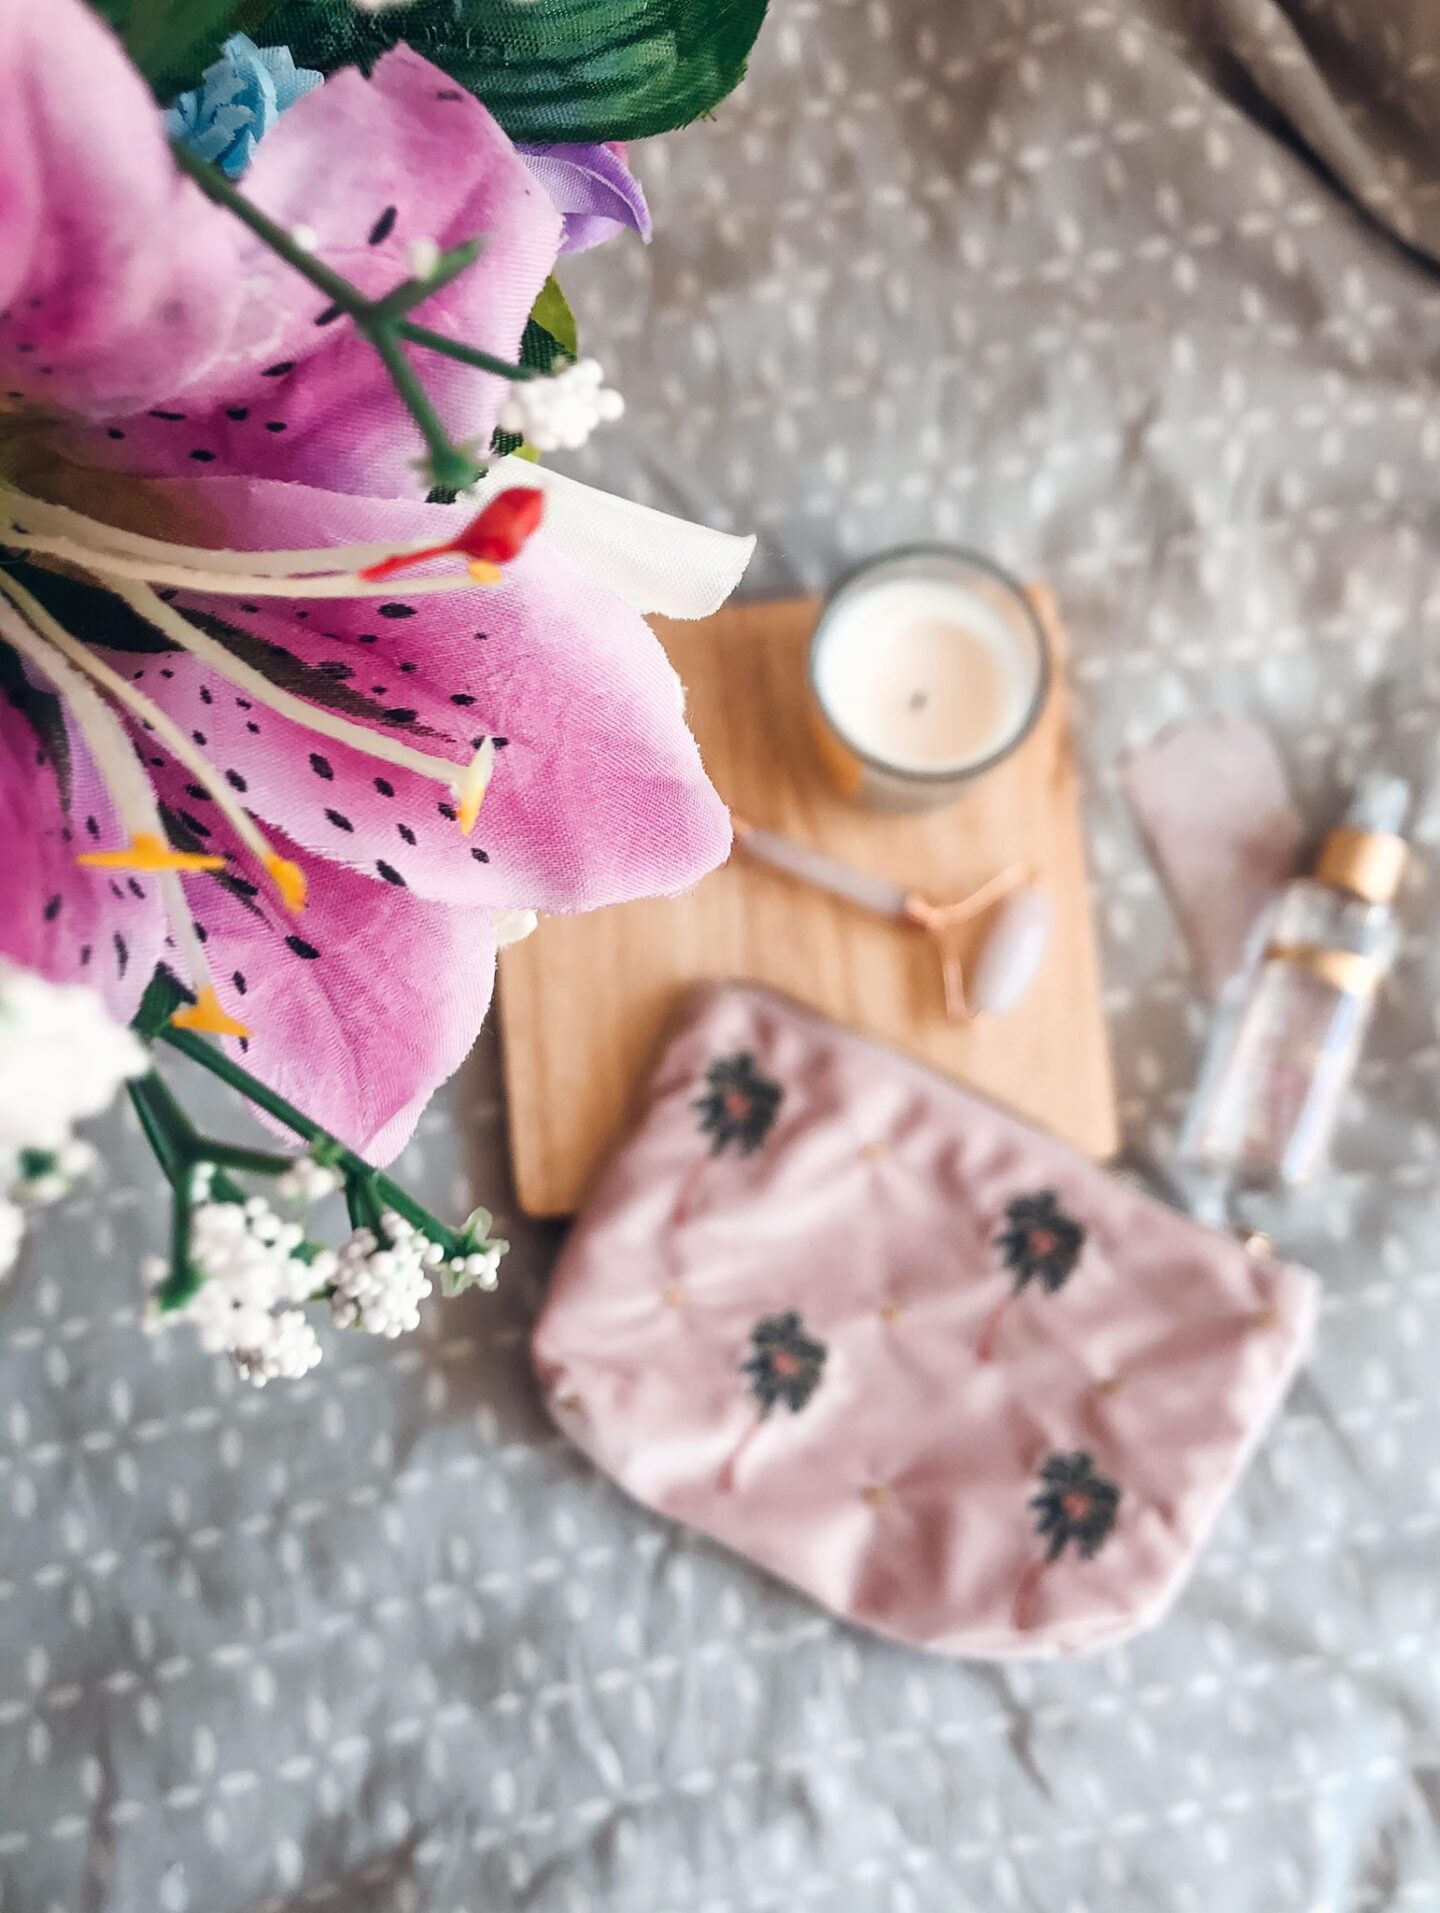
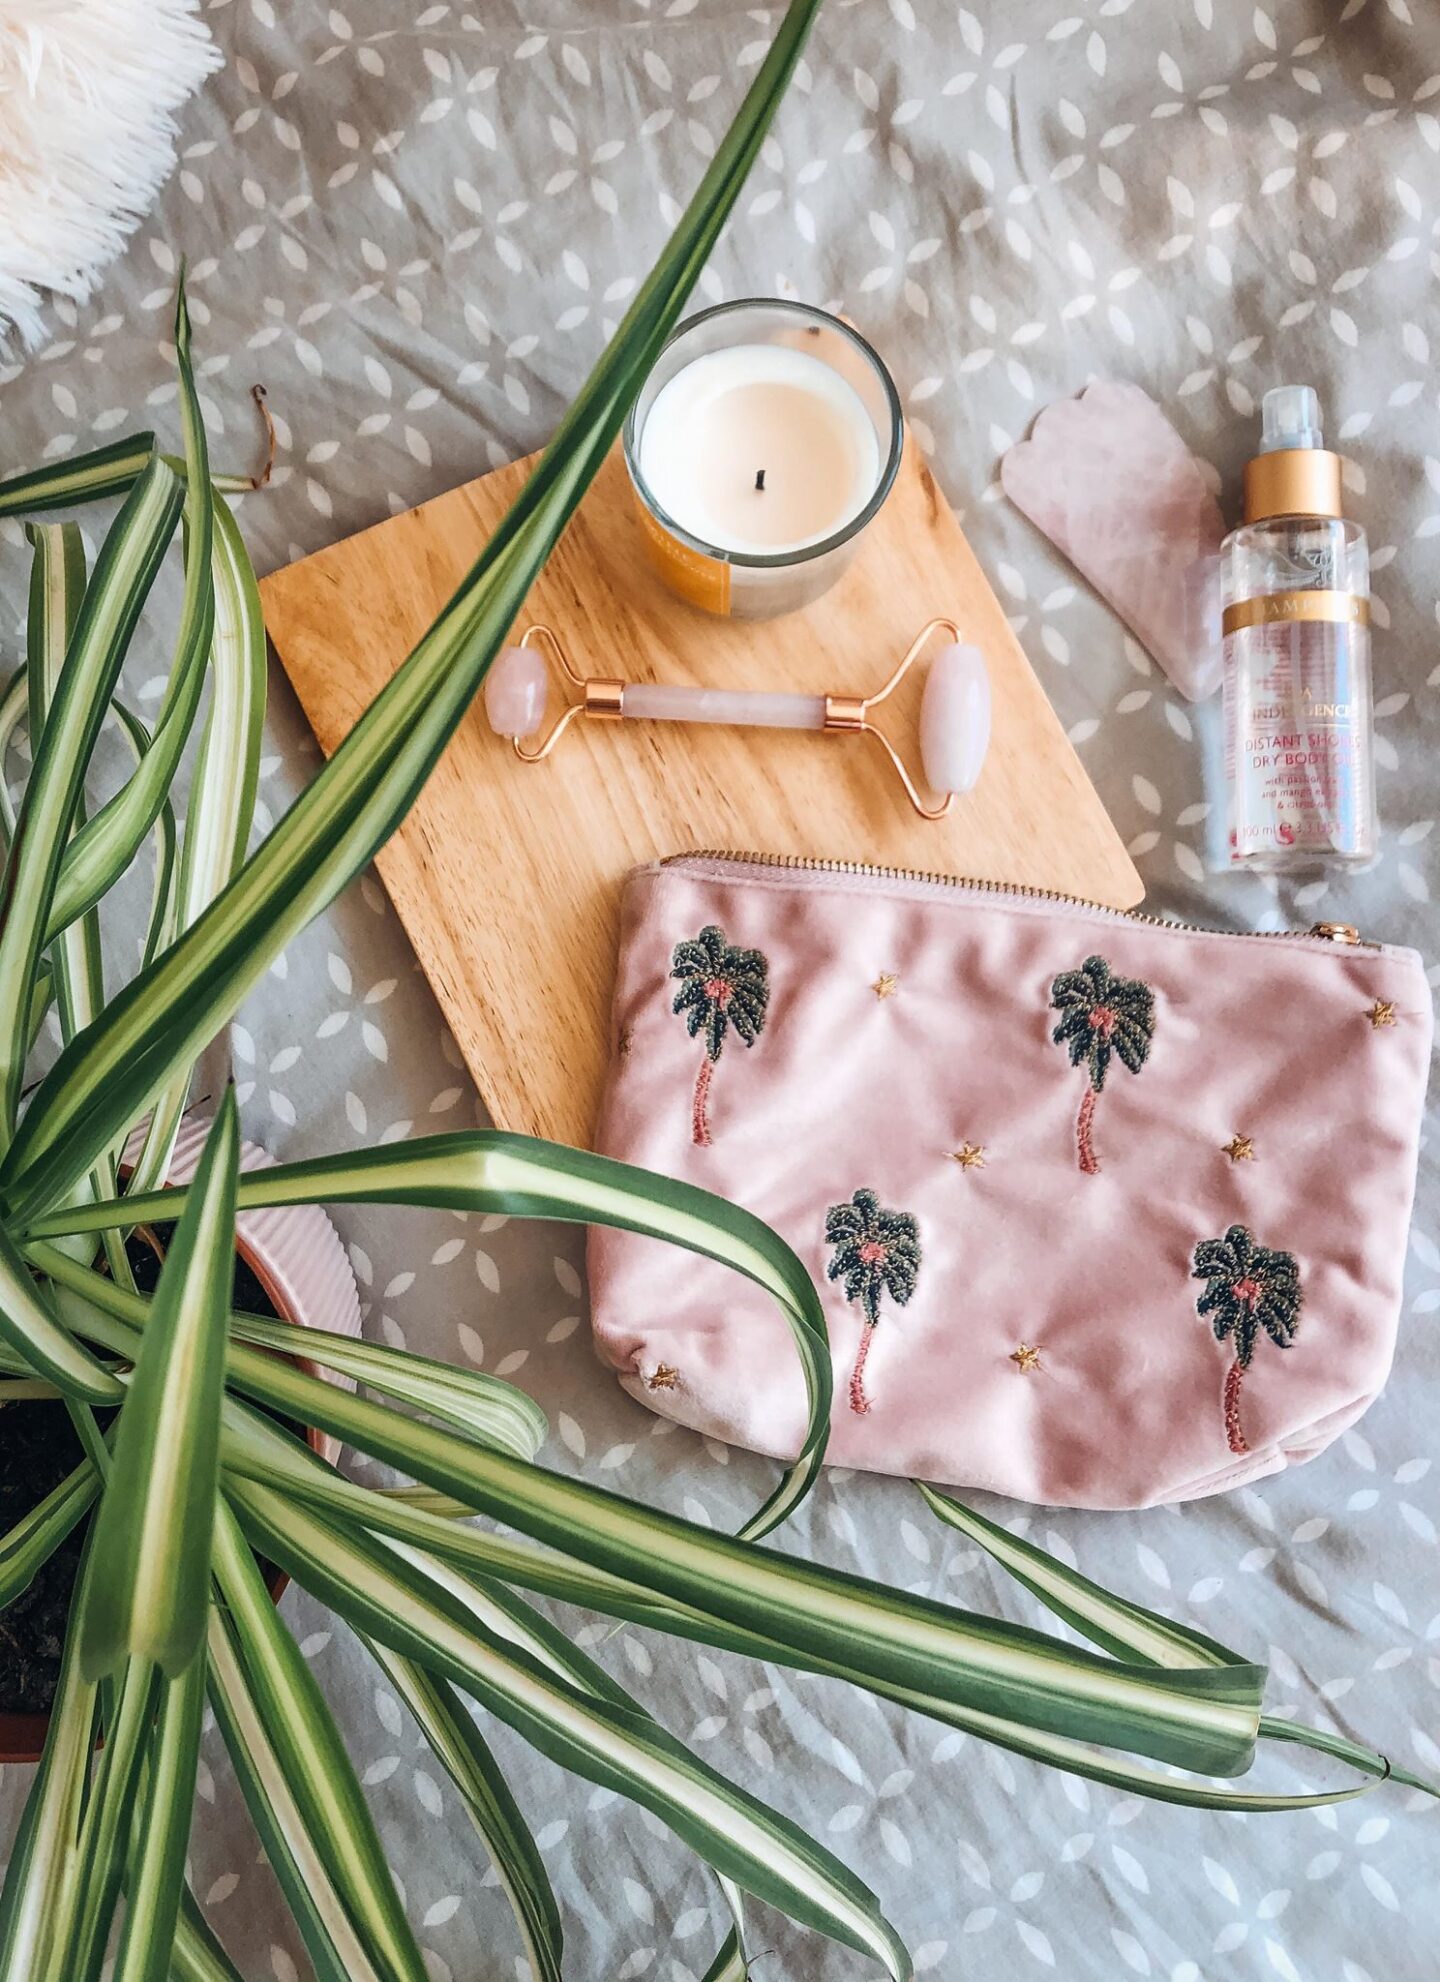
6. Focus points
Another way to make your flatlay more interesting is to add another dimension to it. Add something that’s taller than the other objects, and then toy around with the focus point. My favourite to use is pot plants, and you can switch the focus between the flatlay objects, and the plant that’s up close.
7. Don’t be afraid to play around
Constantly photograph, and constantly move everything around. Test the objects in different places, different layouts, try different angles. Take objects in and out, and if I’m doing it for a post then I like to also do some mini-flatlays within the post.
xx